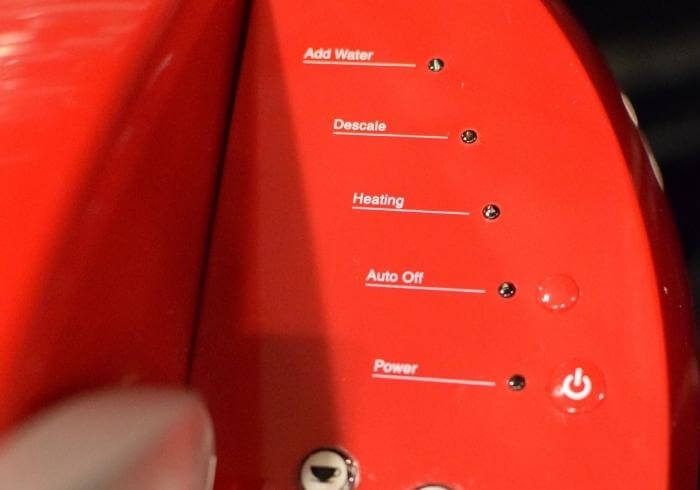
As a brand and manufacturer of the now-infamous single-brew coffee maker, Keurig has been around for a while. And like any other product, Keurig coffee makers have their problems too.
Rather than review any particular model in their coffee maker line-up, today’s Keurig troubleshooting discussion will focus on current models.
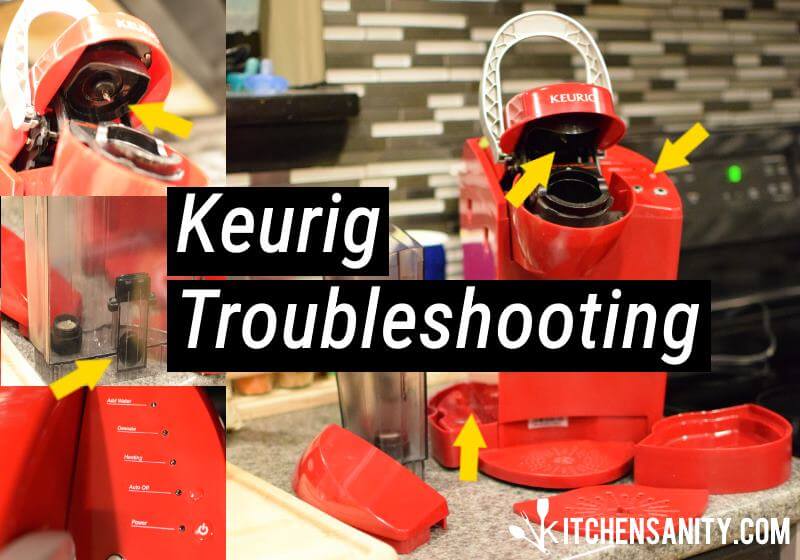
It’s only out in the wild while at work or at home where the true tests play out in everyday usage. We’ve had hundreds of comments and emails with user feedback which plays a large role in building this guide about Keurig coffee maker problems.
Keurig Coffee Maker Troubleshooting Steps
You’re here because you’re experiencing a problem with your machine. Unfortunately, there are many issues that could be causing your Keurig not to brew.
So let’s start with some general troubleshooting steps to try to get your Keurig brewing again without breaking your warranty.
1. Unplug Your Machine And Plug It Back In
Unplug your Keurig for 5 minutes, up to 2 hours if you have the time, to allow all power to drain from it, and then plug it back in.
Sometimes this alone is enough to sort out any glitches from the computer inside and get you brewing again.
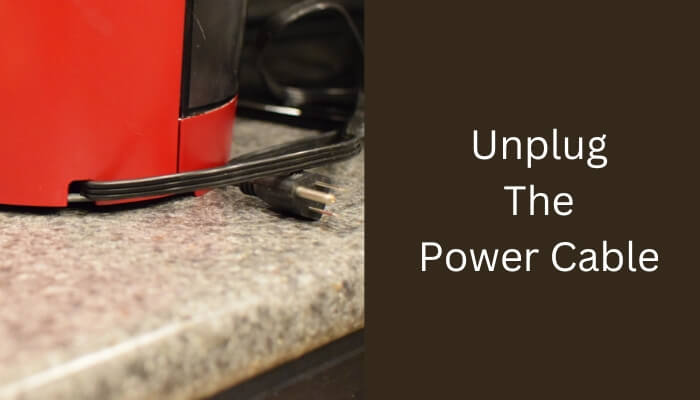
Keurig coffee makers don’t have reset buttons for users. There are some internal thermal reset buttons, but they are difficult to access and are for a very rare and specific problem.
Some models require you to remove the water reservoir, if it has one, before turning it back on. This allows the system to restart in a different manner and possibly start functioning properly again.
2. Check Error Messages
One of the great things about newer Keurig’s is their display screens because they can help you diagnose any problems easily.
If you have a specific error, it becomes much easier to solve the problem. The three easier problems to deal with are if your Keurig says to descale, prime, or add water.
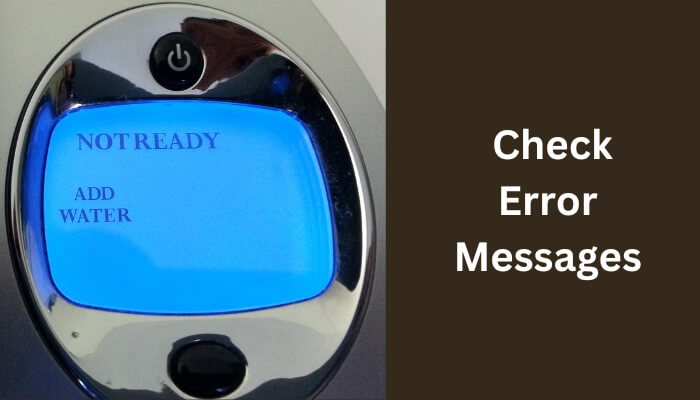
You might even find out that you weren’t using the correct brew settings.
See below in this guide to find my list of the most common error messages and where to find more information on how to fix them.
3. Inspect And Reseat All Parts
If you’ve never taken your Keurig apart, now is a great time to do it and get familiar with all the pieces.
Did you drop your Keurig? If not, great! However, sometimes parts can unseat themselves when bumped or moved around on the counter, causing various problems.
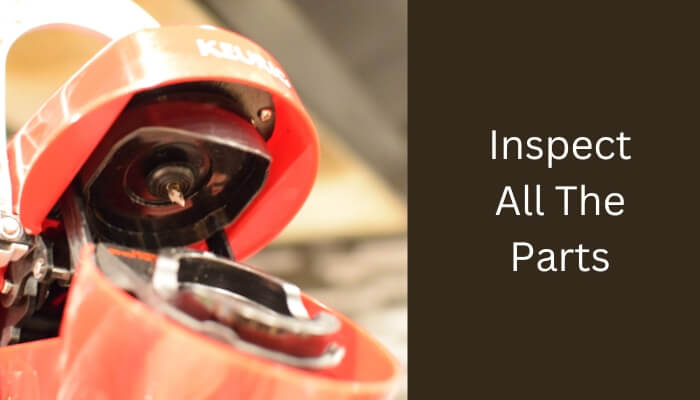
You’ll also need to check the needle and brewing area for dirt, leftover coffee grounds, coffee oils, or other debris that has built up. If you notice any of those issues, skip step 4.
Sometimes air can get trapped in the lines, and you may need to give it a few bumps to help them along.
The method of flipping your Keurig upside down and giving it a gentle spank on the bottom might work, but it can be dangerous. After all, not everyone has the strength to do that.
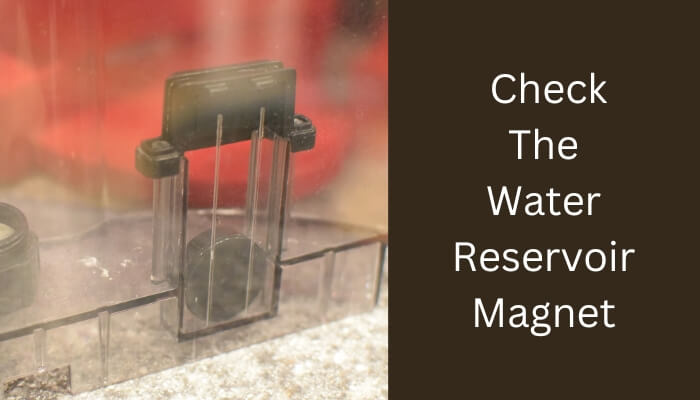
If you notice any damage, such as the magnet in the water reservoir not moving because it’s rusted or corroded, then you may need to replace it or the whole reservoir.
But before replacing any parts, follow the rest of these troubleshooting steps.
4. Let Your Machine Warmup
If you’re in a hurry, you might not have given your Keurig enough time to warm up to function properly.
Coffee-related problems are often because the water hasn’t reached the proper temperature. If you fill the reservoir with cold water, you will need to give it extra time to warm up before brewing.
5. Clean And Descale It
When was the last time you gave your Keurig a deep clean? Keurig coffee makers are susceptible to hard water scaling and coffee grounds in places where they shouldn’t be.

To clean your Keurig, you will need to drain it, then take it apart, piece by piece, and clean each separately. You shouldn’t need any tools for this. The needle and brewing area will also need to be cleaned.
You may have to get creative and use a straw on the end of a water line to blow air through to unclog any blockages. Or use a paper clip to unclog the needle that punctures your K-Cups.
To descale your Keurig without breaking your warranty, you should follow the directions for your model and use the approved Keurig descaling solution.
Unfortunately, descaling with vinegar is not an approved method. However, I and many others have done it without issue, and it seems to work pretty well.
Again, if you’re under warranty, you must be very careful about handling and caring for your machine.
6. Run 2 Cycles Of Hot Water Only
Sometimes running 2 cycles of water without a K-Cup can work out any blockages or residues. It’s not a guarantee, but it’s worth a try.
I also recommend doing this after you have descaled or cleaned your machine to remove any leftover cleaning solution.
7. Contact Keurig Customer Service
If you made it this far without success, then an option is to contact customer service to see if they can help you under warranty. You can contact Keurig customer support at 866-901-BREW(2739).
Our dealings with their customer service, and feedback we’ve received from other Keurig owners, have been generally positive.
If your warranty has expired, you may want to try some more challenging fixes or purchase a new machine.
Why Won’t My Keurig Work?
Struggling with a broken brewer is not a great start to the day. Knowing why your Keurig won’t work might help you understand what’s going on and how to fix it. Here are some issues that can lead to problems:
- You dropped your machine, which might have broken internal parts.
- You’re new and don’t know how to use a Keurig or the Carafe system.
- You use hard water, which can cause mineral buildup and scaling.
- You’ve moved your machine around a lot, and there are air bubbles trapped in the line.
- When putting the parts together, they are not seated or installed correctly.
- You didn’t give your machine enough warmup time, especially when using cold water.
- Your Keurig has a recall for your problem.
If none sound familiar, then looking at the problem itself might help you. See the next section for specific problems.
All Keurig Coffee Maker Problems
If you’ve tried all my troubleshooting steps and your Keurig is still not working, here is a list of problems and where to find more information on how to fix your machine.
Keurig Machine Problems
- Won’t Turn On
- Keeps Shutting Off
- Descale Light Stays On
- Lights Are Blinking
- Not Brewing Coffee Or A Full Cup
- Won’t Heat Or Not Hot Enough
- Stuck On Preheating Mode
- Won’t Stop Pumping Water Or Leaking After Brewing
- Making Noise When Drawing Water
Keurig Error Messages
- Says Descale, But Won’t Brew
- Still Says Descale After Descaling
- Says Prime
- Says Add Water But It Is Full
- Says Brewing, But Nothing Happens
- Says Auto Off Set
Keurig Coffee Problems
- Coffee Grounds In Cup Problem
- Weak or Watery Coffee Problem
- Doesn’t Taste Good Anymore
- Tastes Burnt Or Tastes Like Plastic
Final Thoughts
When the frustration of not getting your morning brew is compounded by a machine that won’t work no matter what you do, it’s enough to ruin your day.
If your warranty has passed and everything you’ve tried hasn’t fixed your machine, it’s probably time to buy a new Keurig.
I know they can be expensive, but when comparing buying coffee from your local shop every morning, the expense might not seem so bad.
A new Keurig is also a great gift idea for when friends and family ask you what you would like for your birthday or Christmas.
But I hope it didn’t get to that point and that this guide was able to help you fix your Keurig coffee maker problems.

