Keurig 2.0 coffee makers include and menu with six numbered and color-coded menu items. Unfortunately, Keurig doesn’t really explain these well in the manual. I think it’s because your Keurig 2.0 brewer will read your K-CUP and select the best settings automatically.
But what if you want a different option? This guide will cover all six brew settings on your older model Keurig and what each one does.
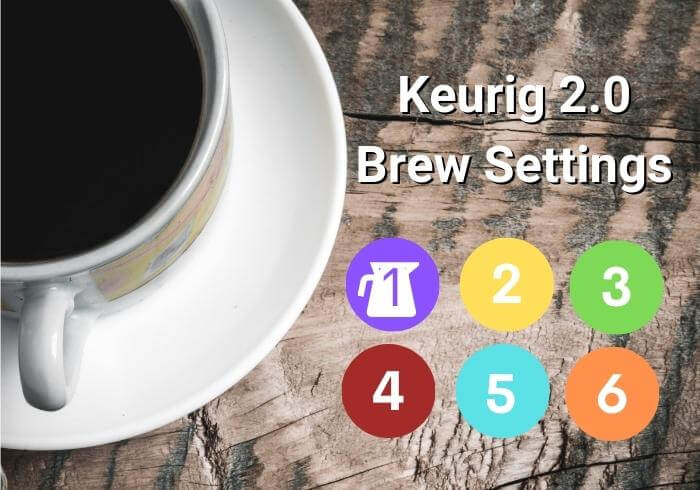
Brew Settings 1-6 Numbers And Color Codes
Once you click “Select Brew Setting” on your Keurig 2.0, you will find a new menu with 6 color-coded buttons as follows.
I dove deep into the K550 manual to help sort out Keurig brew sizes for each setting, so keep in mind that other machines may not have the complete range of sizes mentioned.
Purple Setting #1
This setting is dedicated to brewing coffee using K-Carafe Packs only, which is why it has a small picture of a carafe behind it.
- Brews 2-3, 3-4, and 4-5 Cups
Yellow Setting #2
The yellow setting on the Keurig 2.0 is for K-MUG Pods for when you want to fill your mug in one go at the proper strength.
- Brews 12, 14, and 16oz
Using a regular K-CUP pod with a large water selection can make Keurig coffee taste watery.
Green Setting #3
Unknown why this setting exists. Some machines will only give the option for 14 and 16 oz., but the K550 will give you 3 options on the screen.
- Brews 12, 14, and 16oz
Brown Setting #4
This setting is excellent for small to average-size cups of coffee and specialty brews from espresso to hot cocoa and teas.
- Brews 4, 6, 8, and 10oz
Cyan Setting #5
This is the froth setting for drinks like lattes and cappuccinos using Vue cups which are extremely difficult to find now. Each cup is labeled with Step 1 or Step 2 to help guide you.
- Step 1 Froth 4oz / Step 2 Froth 4oz
There are alternative methods, such as using pods and froth packets that are purchased together for your specialty drinks.
Orange Setting #6
This setting is often used for hot chocolate and mochaccinos. Why not use setting #4 instead of this one? Unfortunately, other than menu design, I’m not sure.
- Brews 6, 8, and 10oz
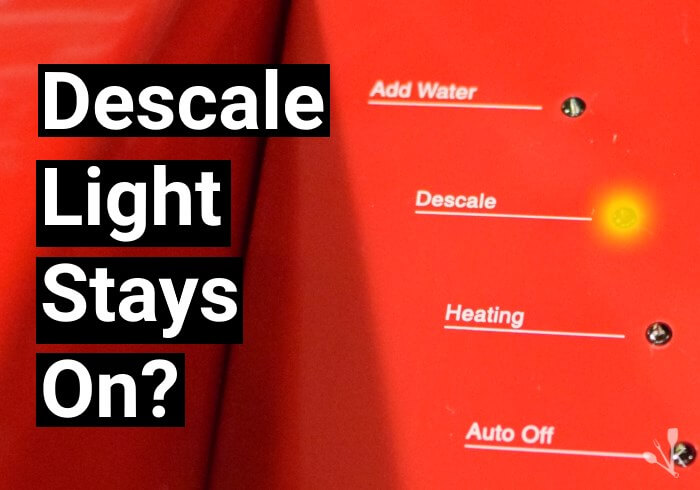
Using the 10oz setting is great for descaling your Keurig.
Keurig 2.0 Menu Screen Options
K-CARAFE
The screen for K-CARAFE Packs has 5 options to choose from:
- Keurig Brew Setting 1
- AUTO BREW
- Brew Size
- Power Button
- Favorites
Everything is clearly labeled, but option 5, the Favorites setting, is depicted as a heart button on the screen.
This will allow you to customize your settings, so it’s quick and easy to get brewing the next time you pop in a K-Carafe.
K-CUP And K-CUP PODS
The screen for regular K-CUPS PACKS has 4 options:
- Strong (Can only be used for coffee)
- Hot Cocoa/Other (non-coffee drinks)
- Brew Size
- Power Button
You will see a checkbox beside options 1 and 2 that you can toggle off or on.
The strong setting will brew a cup of coffee that is darker in color and has a more robust flavor. Be careful if you are using a dark roast coffee. This setting might make it taste quite a bit stronger or bitter than you expect.
Keurig Brew Setting FAQs
What Setting Do I Use For A Reusable K-CUP?
You do not need to manually select a setting with a My K-Cup® Universal Reusable Coffee Filter. However, if you are using an off-brand filter and your machine accepts it, setting #4 should work for most coffee.
Why Can’t I Select A Larger Brew Size?
Some machines cannot dispense water for mug sizes, especially if a mug won’t fit in the machine. It may be best to brew 1 cup, add it to your mug, and then brew a second cup to top it off.