Learning how to drain a Keurig water reservoir is essential if you plan on putting it in storage, traveling with it, or deep cleaning after someone mistakenly put milk in the reservoir.
In this guide you will learn simple steps to drain and empty out the internal water reservoir with or without disassembling your machine.

Keep in mind that by servicing your Keurig with these methods may void your warranty.
Related | Keurig Problems
Disassembly Instructions
Depending on your Keurig model, accessing the tube inside may be at the bottom, back, or front of the machine. The following video demonstrates bottom access.
- Most Important Step! Be certain to unplug your Keurig and let it cool, preferably overnight to make sure you don’t get scalded by hot water or hot parts.
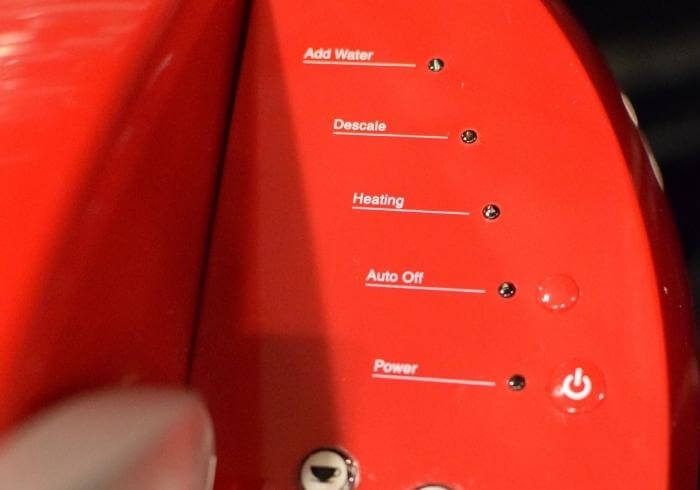
- Dump the water reservoir. On many Keurig’s these are on the side and can easily be pulled up and towards you for easy emptying.
- Unscrew the screw at the back or bottom of the machine to reveal the access panel. Inside you should see a tube with a plug in it.
- Place a pitcher under the tube and pull the plug. Water from the internal water reservoir will flow into the pitcher. As it trickles to a stop, replace the plug and put the cover back on the access panel.
- Plug in your Keurig and put a cup on the tray. Attempt to brew until no more water comes from the machine. You may need to trick your sensor in to thinking that the main reservoir is full (See the video below).
Related | How Long Can You Leave Water In Your Keurig
Empty A Keurig Without Disassembling
The key here is to trick your Keurig in to thinking it has a full reservoir which will allow the brewing mode to start.
Once brewing has started, the machine will suck out all available water from within the lines and internal reservoir. At least that’s the idea and it does appear that a lot of water comes out.
To fool your Keurig in to thinking that it has a full reservoir of water, you will need to move the floating magnet up away from the sensor. Depending on your unit this may or may not be easy to accomplish.
Final Thoughts
Once you’ve completely drained your Keurig, you may want to start cleaning it with vinegar to help remove excess mineral buildup before any remaining moisture settles and dries inside.
Related | How To Clean A Keurig With Vinegar
Share with us about your successes and any tips you might have for others who are planning on draining their Keurig coffee makers.


I found an easier way. I took off the water tank, taped up the
water entrance hole with adhesive tape. Poked a small hole in the
tape. Took my small electric bike pump with needle and pushed
the needle thru the hole and started the pump. Water gushed out
and it was done in about two minutes.