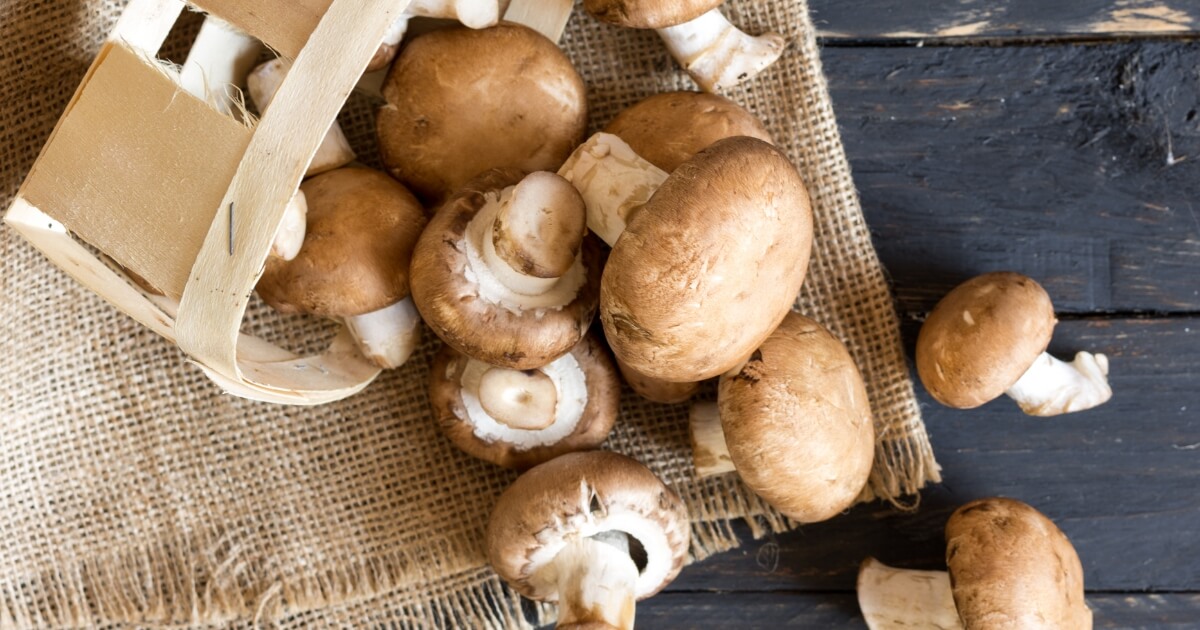
Cleaning mushrooms is a must-do task whether you’ve foraged for wild varieties or picked up a container of mushrooms from your local grocery store.
Fresh mushrooms often come with specks of dirt and sometimes even tiny critters, so knowing how to clean them properly is essential for a delicious and safe meal. Oyster, white, and shiitake mushrooms have their own characteristics, but the cleaning process is similar for all.
The Food & Drug Administration advises washing fruits and vegetables with running water to remove dirt and bacteria. But mushrooms are a bit different due to their water-absorbing nature.
Therefore, a different approach is needed for these fungi, and I’ve got you covered with all the details.
Should You Wash Mushrooms Before Cooking?
Some argue that washing mushrooms in water can make them soggy, affecting both their texture and flavor. On the flip side, others believe that a quick rinse won’t harm the mushrooms and can help remove excess dirt and potential bacteria. So, what’s the best approach?
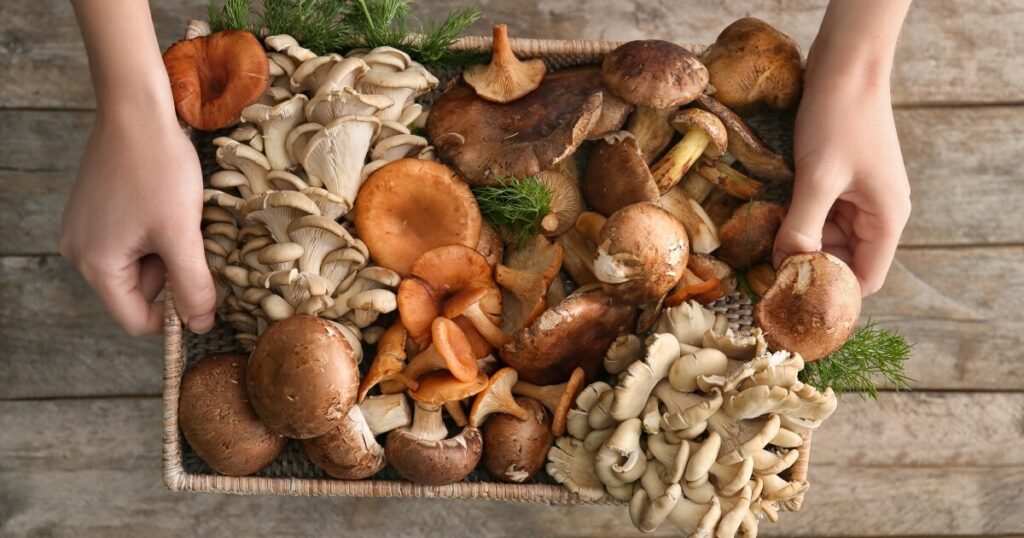
If you’re dealing with varieties of mushrooms like button mushrooms or shiitake mushrooms, a dry cleaning method is best.
Using a dry paper towel or a small brush, you can easily remove specks of dirt and debris without affecting the water content of the mushrooms. This method is particularly effective for mushrooms with a firmer texture and less moisture content.
However, a quick rinse under a stream of water might be necessary if you’ve got a batch of particularly dirty or gritty mushrooms.
The key is to make it quick and to immediately pat the mushrooms dry with a clean kitchen towel. This way, you minimize the amount of extra water the mushrooms absorb, keeping them ready for cooking.
How To Clean Mushrooms
1. Gather Supplies
First, make sure you’ve got everything you need. Grab those fresh mushrooms—be it oyster, button, or even some fancy shiitake. Trust me, there’s nothing worse than having to scramble for stuff halfway through.
You’ll want a paper towel or a clean cloth. This is your go-to for wiping off dirt or giving your mushrooms a quick pat-down if you decide to rinse them. You can use a kitchen towel, but make sure it’s clean and dry.
Now, let’s talk about that small brush or a clean toothbrush you’ve got lying around just for mushrooms. This little guy is your best friend for getting into all those nooks and crannies, especially on shiitake mushrooms. It’s like a mini broom for your fungi, sweeping away all that unwanted dirt.
And don’t forget a cutting board and a good, sharp knife. You’ll need these for trimming off the mushroom stems, which can be dirt magnets.
2. Inspect Your Mushrooms
Give your mushrooms a good once-over. You’re looking for dirt clumps, weird spots, mushy textures, or even the occasional bug. You’ll want to deal with them on their own, whether to give an extra cleaning or toss them out.
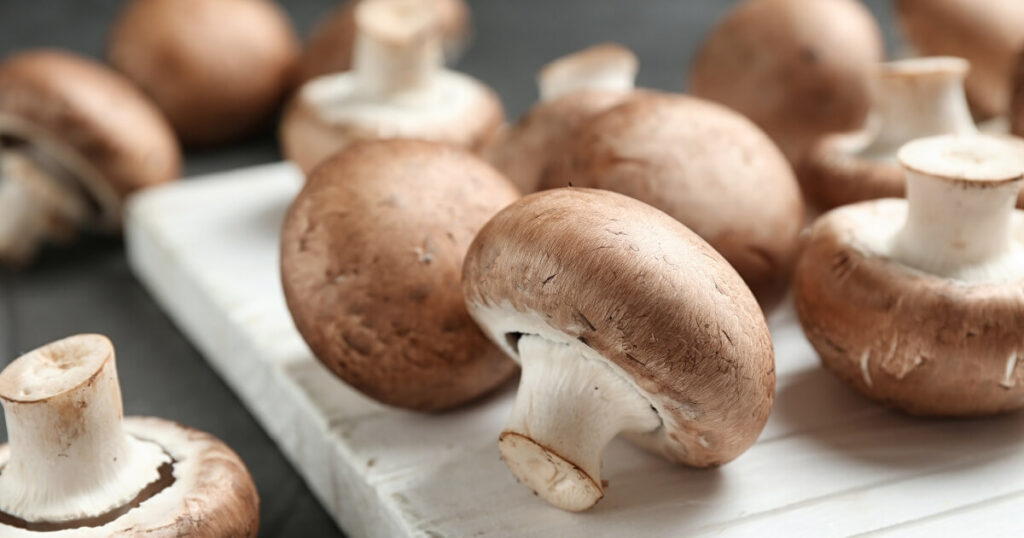
Did you buy your mushrooms from the store? This step is even more important. Those plastic-wrapped containers can make mushrooms go slimy real quick. If you spot any that look past their prime or a bit moldy, toss ’em out. No one wants a side of mold with their mushroom risotto.
Got a mix of different mushrooms? Say, some oyster and some white button? Check ’em out separately. Different types of mushrooms have different needs. Oyster mushrooms, for instance, are a bit more fragile and can bruise easily. So, handle them with care.
Think about what you’re gonna do with these mushrooms, too. If they’re going into a soup or stew, you might not need to be as picky.
But if you’re aiming for that perfect sauté or grill, you’ll want them as clean as can be. A dirty mushroom can really mess with the flavors you’re trying to achieve.
3. Prep Your Work Area
Let’s set the stage for some serious mushroom cleaning. Lay out a paper towel or a clean cloth right on your counter. This is where you’ll place your cleaned mushrooms, and it’ll also catch any stray dirt that falls off.
Next up, get that brush and knife and put them where you can easily grab ’em. You don’t want to be doing the kitchen tango, trying to reach for stuff.
So, you’ve got your towel down and your tools at the ready. You’re basically setting up your own little cleaning station.
This step might seem like a no-brainer, but you’d be surprised how much easier your life gets when everything’s within arm’s reach. It’s one of those little things that makes a big difference, especially when you’re in the groove and don’t want to break your flow.
4. Dry Brushing
Grab a mushroom with one hand and hold it like it’s a precious gem. Because let’s be real, in the kitchen, it kinda is. With your other hand, take that small brush you’ve got ready.
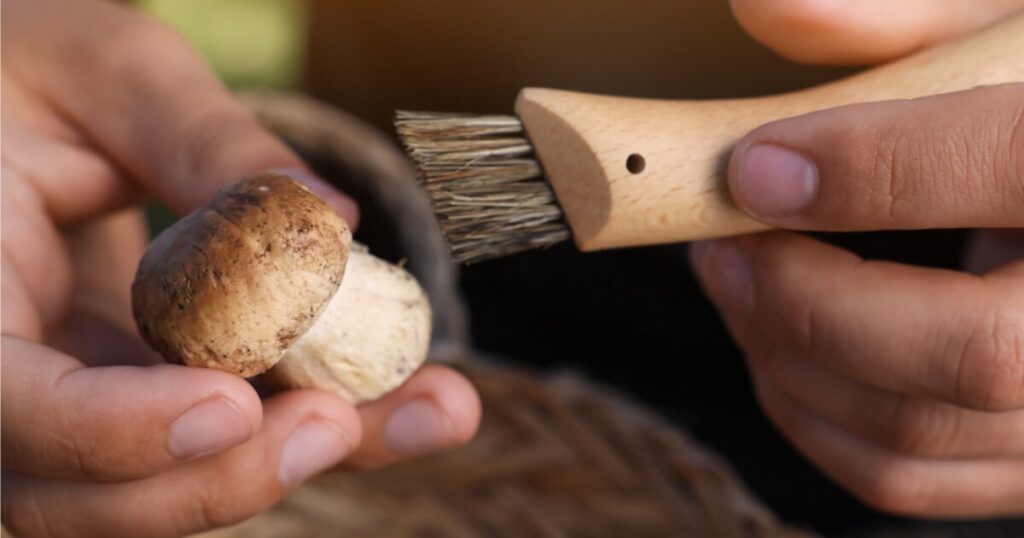
Gently brush off the dirt, starting from the cap and working your way down to the stem. You’re not scrubbing a dirty pot here, so be gentle. A light touch is all you need.
This dry brushing method is my go-to, especially for mushrooms with a lot of crevices like morels or shiitakes. It gets the dirt out without adding any moisture, keeping the texture of the mushroom intact. You get to keep all that natural, earthy flavor without the actual earth.
And remember, you’re holding the mushroom in one hand the whole time, so you can easily rotate it and get all the angles.
5. Trimming
Now that your mushrooms are looking pretty clean, it’s time for a little trim. Grab that sharp knife you’ve got ready and slice off the end of the stem. Those stem ends can be dirt traps, and let’s be honest, they’re usually a bit tough anyway.
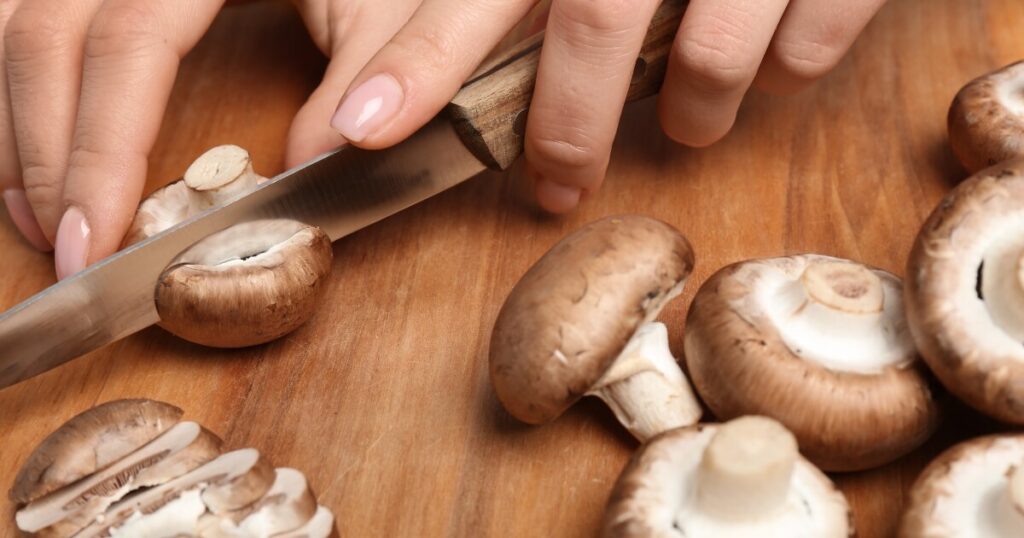
You might find some parts of the stem or even the cap that feel woody or tough. Don’t hesitate to trim those off too. No one wants to bite into a delicious mushroom dish and get a mouthful of something that feels like bark.
I like to think of this step as giving your mushrooms a little haircut. You’re getting rid of the split ends, so to speak, making sure they’re looking their best for the big show—whether that’s a stir-fry, a creamy risotto, or a simple sauté.
And hey, don’t toss those trimmings just yet. If they’re big enough for additional cleaning, save them for a veggie stock or compost them.
6. Optional: Rinsing
If you’ve got some mushrooms that look like they’ve been through the mud—literally. A quick rinse under water might be your best bet. Turn on the cold water and give them a fast shower, but make it snappy. You don’t want them soaking up too much water.
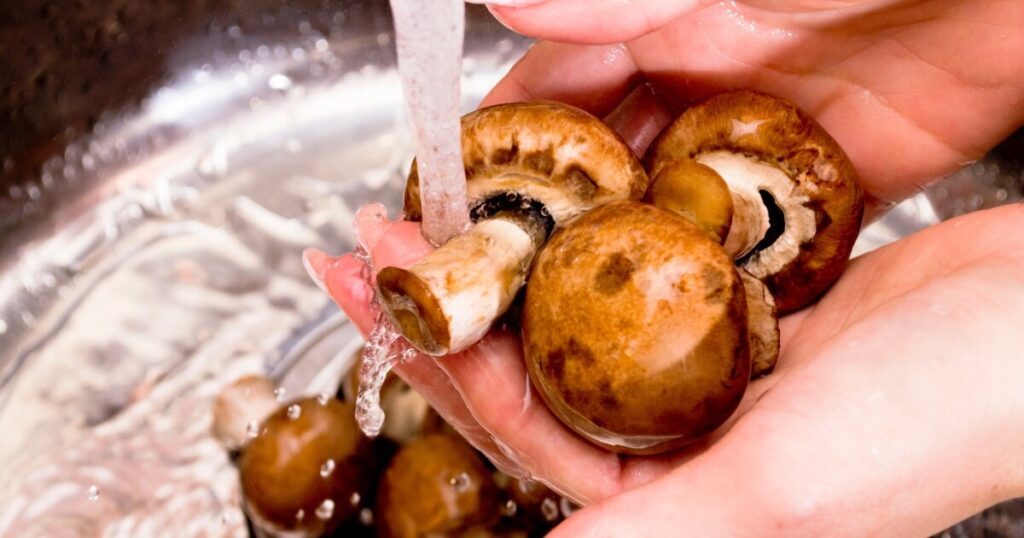
As soon as they’re out of the water, grab a clean towel and pat them dry. And I mean right away. Mushrooms can go from firm to soggy in no time if they’re left wet. It’s like leaving a sponge on the counter; it just soaks up everything around it.
Got a salad spinner? This is its moment to shine. Toss those damp mushrooms in there and give it a few gentle spins. It’s a great way to get rid of any lingering moisture without bruising the mushrooms.
Remember, this rinsing step is totally optional and really only for those mushrooms that look like they’ve seen better days. Most times, a good dry brush and a trim are all you need to get them ready for the pan.
7. Final Check
Before you toss those mushrooms into the pan, give them one last look-over. You’re checking for any spots you might’ve missed during your cleaning spree.
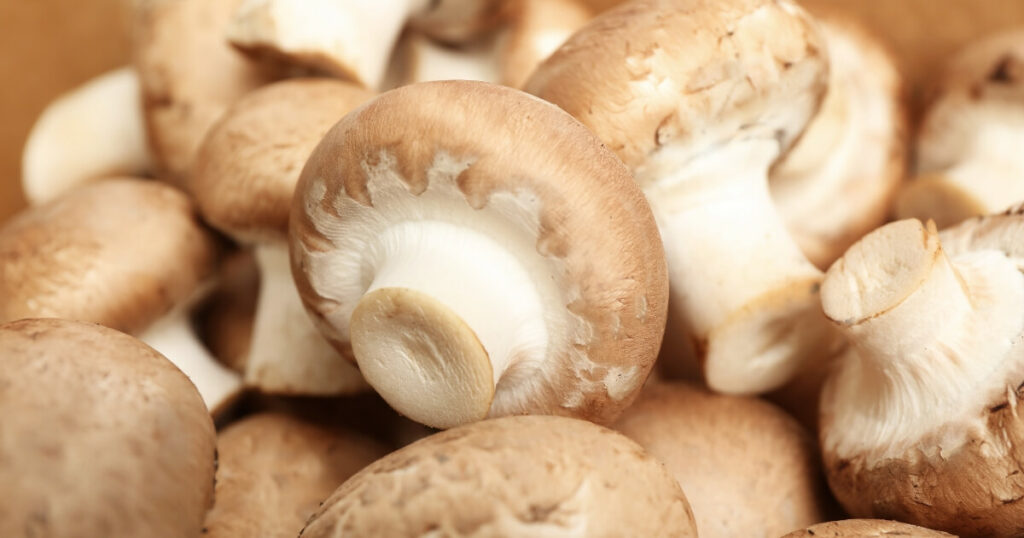
Grab a paper towel and give your mushrooms a quick pat-down. This isn’t just for any missed dirt, but it’s also to make sure they’re as dry as possible. Even a little extra moisture can mess with your cooking, turning what should be a golden sauté into more of a steam-fest.
You’ve put in the work to get your mushrooms clean and pretty, so a last check ensures they’re absolutely ready for whatever you’re cooking up.
So there you have it. Your mushrooms are cleaned, trimmed, and ready to go!
8. Storage
Oh wait, you’ve cleaned your mushrooms but aren’t planning to use them right away? No worries. Grab a paper bag and pop them in it. Paper bags are the way to go because they absorb any extra moisture, keeping your mushrooms from getting slimy.
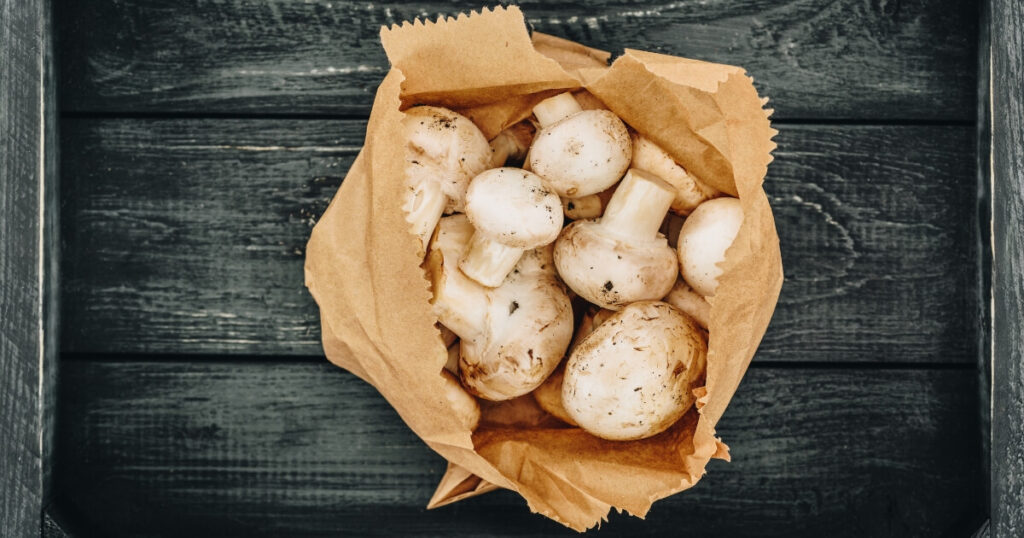
Stick your bag of mushrooms in the fridge, ideally in the crisper drawer. The crisper keeps the humidity levels just right, so your mushrooms stay fresh longer.
You might be tempted to use the original packaging or a plastic bag, but resist that urge. Plastic traps moisture, and we’ve already talked about how mushrooms and extra water don’t mix. It’s like storing bread in the fridge… it just doesn’t work out well.
How To Clean Mushrooms
Equipment
- 1 Small brush
- 1 Cutting board
- 1 Paper towels and clean cloth
- 1 Sharp knife
Ingredients & Supplies
- 1 container Mushrooms
Instructions
- Get your fresh mushrooms, a paper towel or clean cloth, a small brush, a cutting board,and a sharp knife.
- Check for visible dirt, blemishes, and remove any spoiled or moldy pieces.
- Hold your mushroom in one hand and gently brush off dirt with a small brush.
- Cut off the end of the stem and remove any tough or woody parts.
- Briefly rinse under cold water if extremely dirty, and pat dry immediately. Use a salad spinner for excess moisture if needed.
- Inspect for missed spots and pat your mushrooms quickly with a paper towel.
- If not using immediately, store your cleaned mushrooms in a paper bag in your fridge's crisper drawer.
Mushroom Cleaning FAQs
What Is the Dirt on Mushrooms?
That “dirt” is usually a mix of actual soil and mushroom compost. It’s pretty harmless but can be gritty in your dish. A good brush or rinse usually takes care of it.
Can You Prepare Mushrooms in Advance?
Absolutely, you can clean and slice mushrooms a day or two before you need them. Just store them in a paper bag in the fridge to keep ’em fresh. It’s a real time-saver when you’re planning a big meal.
Are You Supposed to Peel Mushrooms?
Nope, you don’t need to peel most mushrooms. The skin is full of flavor and nutrients. Plus, peeling can be a real hassle, and you’d lose some of that great texture.
How to Clean Mushrooms for Stuffing?
For stuffed mushrooms, you’ll want them super clean. A dry brush usually does the trick, but you can also scoop out the gills to make more room for stuffing. Just be gentle, so you don’t break the cap.
Do You Wash Store-Bought Mushrooms?
Store-bought mushrooms can be a mixed bag. Some are pretty clean, while others need a good brushing. If they’re really dirty, a quick rinse and pat dry will do.


