Oysters are a much-loved shellfish that are best enjoyed raw. To do that, you first need to get to the delicious flesh inside by shucking them.
Shucking an oyster should be done with focus and care because you don’t want to damage the delicate flesh inside or lose any of the juiciness. And most importantly, you must take care not to injure yourself during the process.
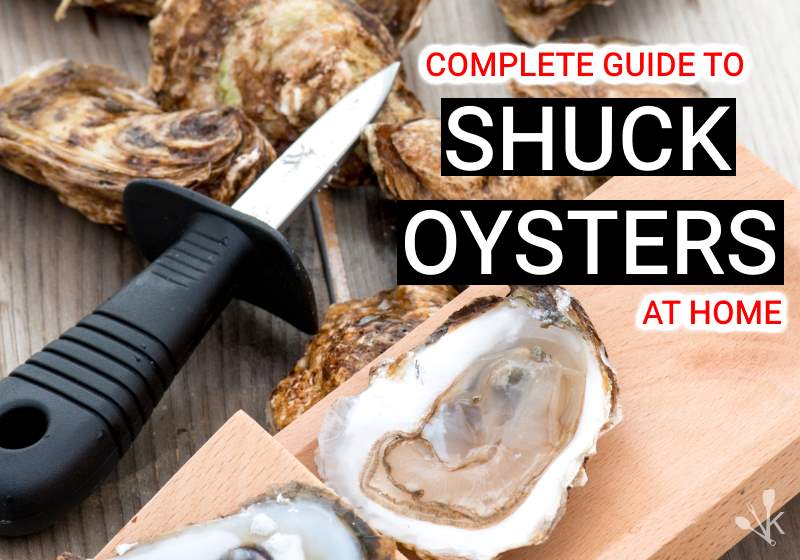
Read on to find out the best way to shuck an oyster at home so you can enjoy this fresh ocean treat as quickly and as safely as possible.
How To Clean Oysters
Before you get to the tricky part of opening your oyster, you’ll need to give it a clean first. This will help make sure none of the ocean grit on the outside gets inside.
The experience of slurping down a fresh oyster is ruined if you’re picking bits of sand out of your teeth afterward.
Naturally, you want to cook or eat your oysters while they’re still alive. A dead oyster can make you or your guests extremely sick.
To determine whether or not your oyster is alive when you pry open the shell, you can scrape the prongs of a fork over the outer edge of the flesh. If the oyster shrinks back in its shell, you know it is alive.
If you find an oyster with an open shell, throw it away. If the shell is damaged or open, it means that the oyster is dead.
Now let’s get your oyster cleaned in three simple steps:
- Take each oyster individually and rinse it under cold running water.
- Scrub the outsides of the shell with a stiff brush as you rinse to remove all the debris and dirt.
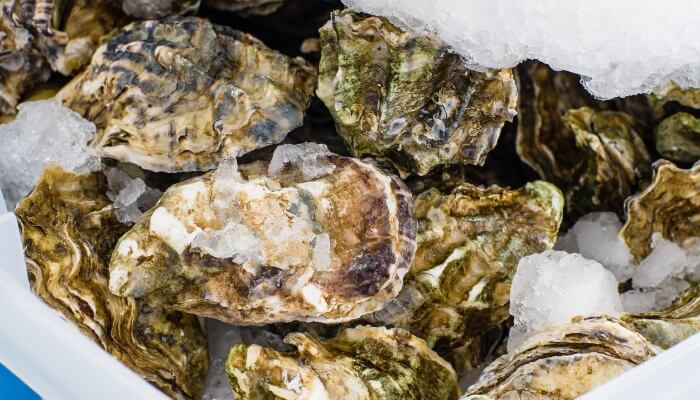
- Give the oyster a final rinse and set aside. I like to place them in a large container, layering the oysters with a bit of ice to keep them fresh and cool.
You’ve got your fresh oysters sparkling clean and ready to go, so what’s next?
Tool For Opening Oysters
You will need a few tools and items to help you safely open your oysters. Doing a little bit of preparation ahead of time will help you focus on the actual opening rather than worrying about where you left something.
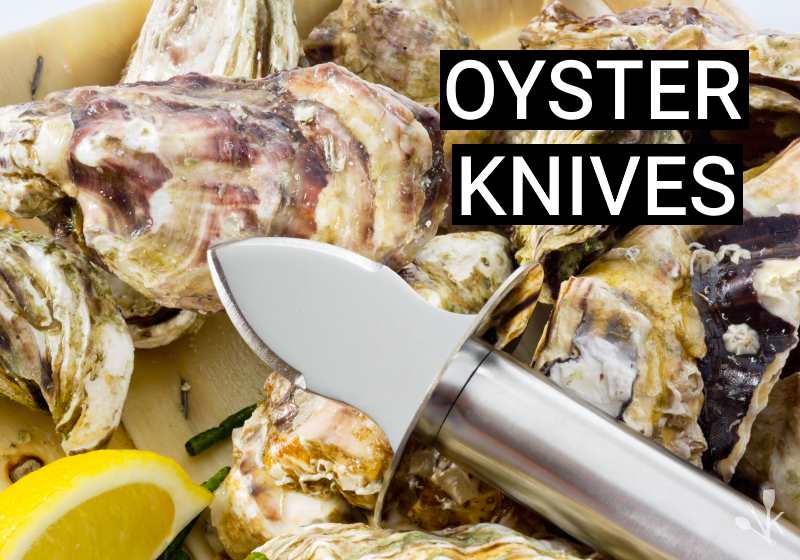
First, grab your best oyster knife. Don’t try to use your average kitchen knife, or butter knife, for this task. They can easily snap, ruin a perfectly good knife, or worse, cause injury if you slip.
Shucking gloves will save your hands. Oyster shells are sharp, and shucking knives can cut you with enough force.
I recommend buying specialized Kevlar shucking gloves which have some grip to them. Don’t rely too heavily on them, though. You still need to be careful.
Dowellife Cut Resistant Gloves | Editor Recommended

Top Features
- Can be used for oyster shucking
- Easy to clean and dry
- Use for any knife work at home
Other items that can be helpful include:
- A shucking board to help you hold the oyster steady.
- A trash bag for discarding the top shells
- A clean towel to wipe up any missed bits of mud or broken shells.
- Crushed ice for your presentation pan, plate, or platter.
How To Shuck An Oyster
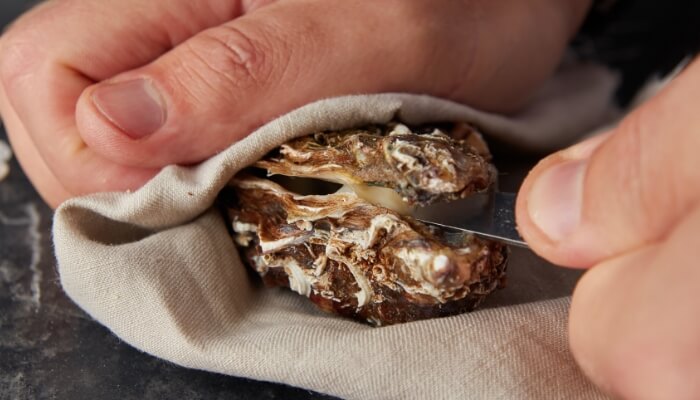
Step 1 – Secure Your Oyster
Wrap an individual oyster in a cloth or kitchen towel and set it on a countertop or specialized board with the flattest half of the shell facing up. You should be looking directly at the hinge (the point where the shells are firmly joined together.)
Step 2 – Insert The Tip Of Your Knife Into The Hinge
Hold the oyster firmly and insert the tip of your shucking knife into the small hole you will see in the hinge. Make sure that you hold the oyster very securely to avoid slipping.

Step 3 – Twist Your Knife To Separate The Shell
Once the tip is inserted, twist your knife and try to put it in further to help snap the shells apart. With more stubborn oysters, you may need to work the knife further to get more leverage to open them.
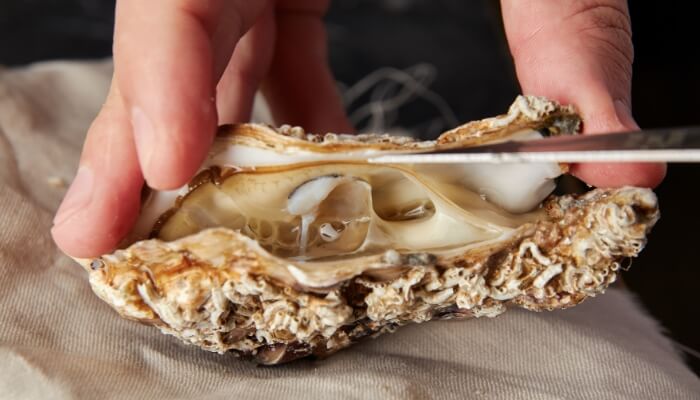
Step 4 – Sever The Adductor Muscle
Run the knife blade back and forth along the edge of the upper shell. This will sever the muscle holding the shells together.
Take care not to break the shell because small pieces may fall inside. If you notice any bits of shell inside, you’ll need to remove them all before eating.
Step 5 – Remove The Top Shell Carefully
Lift the top shell off, and you will see the oyster flesh and juices inside the lower shell. You will need to use your knife to help separate any attached flesh as you so do.
Be careful not to tip the lower shell, which will result in the juices spilling out.
If you’re new at this, it’s a good idea to open your oysters over a shallow dish or bowl to catch any spills.
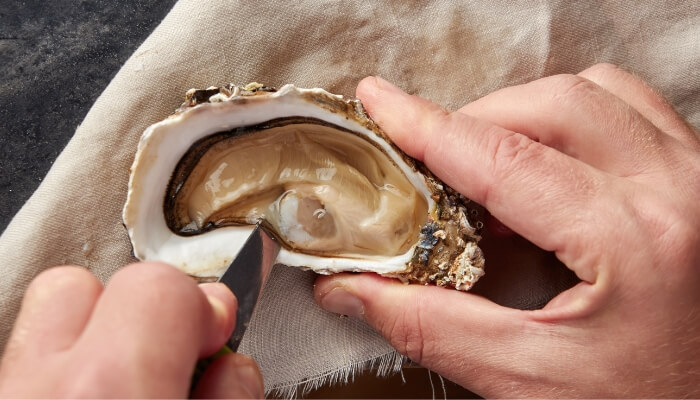
Step 6 – Loosen The Flesh
To make life easier for your guests, use your oyster knife to separate the oyster flesh from the base shell, so it can easily slide out when eating.
Step 7 – Place On Ice And Serve Immediately
Now that you have an oyster in its half shell, along with its natural juices, place it on a bed of crushed ice to keep it fresh.
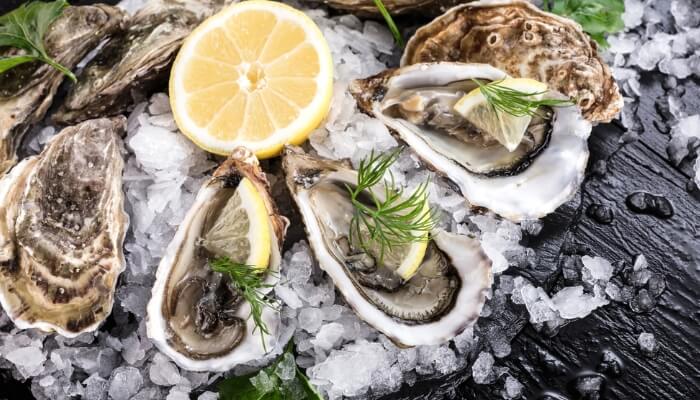
Once you have enough, you are ready to add toppings such as lemon juice or just serve plain and raw!

Best Way To Shuck Oysters At Home
Equipment
- 1 Oyster Knife
- 1 Kitchen Towel
- 1 Container
Ingredients
- 1 Medium Raw Oyster
- 1 Bag Crushed Ice
Instructions
- Secure your oyster
- Insert the tip of your knife into the hinge
- Twist your knife to separate the shell
- Sever the adductor muscle
- Remove the top shell carefully
- Loosen the flesh
- Place on ice and serve