In this guide, I’ll walk you through a simple yet effective method to whip up delicious juice using just your blender.
It’s all about making the most of what you’ve got. But, if you find yourself reaching for that blender more often than not, perhaps it’s time to think about investing in a dedicated juicer.
But for now, let’s dive into the art of blender juicing and get you sipping in no time!
1. Gather Your Supplies
Before you start, make sure you have the following:
- Blender (or immersion blender)
- Fine mesh strainer (Optional: nut milk bag)
- Knife
- Cutting board
- Water (to adjust juice consistency)
- Spatula
- Bowl (one that your mesh strainer can sit on top of)
Not so sure about this? No problem! Check out my juicing for beginners guide instead.
2. Prep Your Produce
Preparing your fruits and veggies correctly is important for a smooth blending experience and a tasty juice. Here’s a step-by-step guide to get your produce ready:
Washing Well:
- Why It Matters: Fresh produce can have dirt, pesticides, or little critters on them. A thorough wash ensures you’re only getting the good stuff in your juice.
- How to Do It: Hold each fruit or vegetable under running cold water, gently rubbing its surface with your fingers. Consider using a soft-bristled brush for items with a rougher texture, like broccoli or cauliflower.
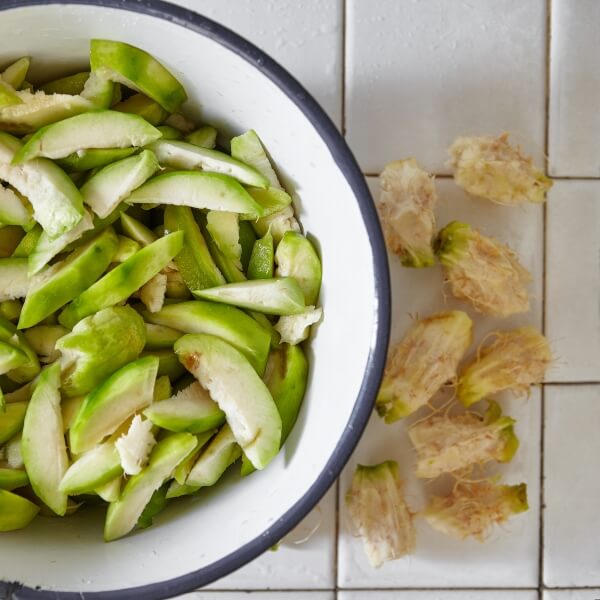
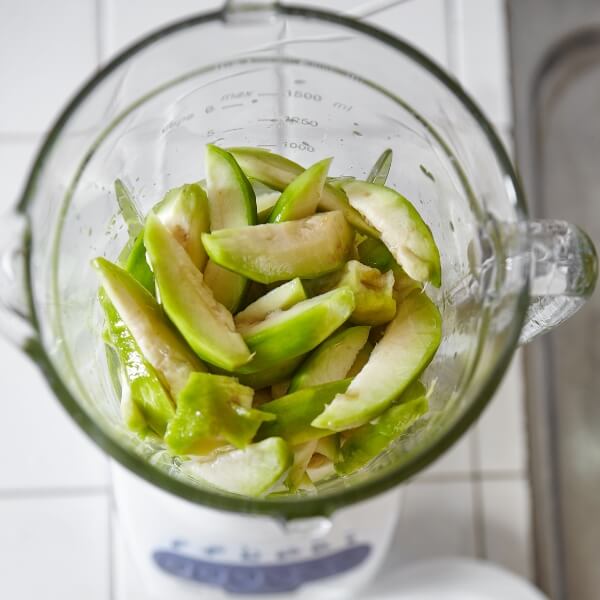
Chopping For Your Blender:
- Size Matters: Your blender will work more efficiently if you feed it bite-sized pieces rather than large chunks. This also ensures a more consistent blend.
- Technique: Remove any inedible parts like stems or tough ends. Then, cut your produce into roughly 1-inch pieces, or smaller if you’re working with harder items like carrots.
Produce That Needs A Bit More Work:
- Stone Fruits: If you’re using fruits like peaches, plums, or cherries, be sure to halve or quarter them and remove the pits. Not only are these pits not blend-friendly, but they can also be harmful if ingested.
- Root Veggies: Vegetables like carrots and beets often have dirt embedded in their skin. Even if you’re peeling them, give them a good scrub first. If you decide to keep the skin on (it’s packed with nutrients!), ensure it’s cleaned thoroughly.
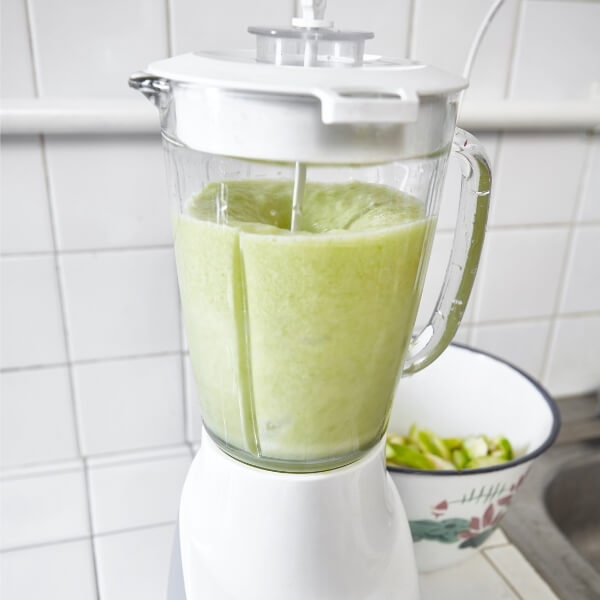
3. Let’s Blend Your Produce
Blending is a straightforward process, but there are a few tricks to ensure you get the perfect consistency without turning your kitchen into a mess.
Setting Up:
- Blender Choice: If you’re using a regular blender, make sure it’s on a stable surface. For those opting for an immersion blender, a high-walled bowl is your best bet to prevent splatters.
- Layering is Key: Begin with your juicier ingredients, like cucumbers, celery, or melons at the bottom. These quickly provide the liquid base that makes blending easier. Next, add in your greens, followed by the tougher, denser ingredients. This layering technique ensures a smoother blend and reduces the strain on your blender’s motor.
Blending Tips:
- Pulse First: Give your ingredients a few quick pulses before going full speed. This breaks them down a bit and reduces the chance of any big chunks getting stuck under the blades.
- Water Works: If things aren’t blending smoothly, add a splash of water. It not only helps in moving the ingredients around but also adjusts the consistency of your juice.
- Safety First: Always ensure the blender lid is secure before starting. If using an immersion blender, keep the blade submerged to avoid any splashes. And remember, never stick utensils in the blender while it’s running. If you need to mix or adjust the contents, turn off the blender first.
Achieving the Perfect Consistency:
- Stir and Check: Every so often, pause the blender and give your mix a stir. This helps move any stubborn pieces to the blades and ensures an even blend. Check the consistency and add water as needed. You’re aiming for a smooth, pourable texture.
Minimize the Mess:
- Pour Carefully: When transferring your blended mix, use a spatula to guide the liquid and prevent drips down the side of your blender or bowl.
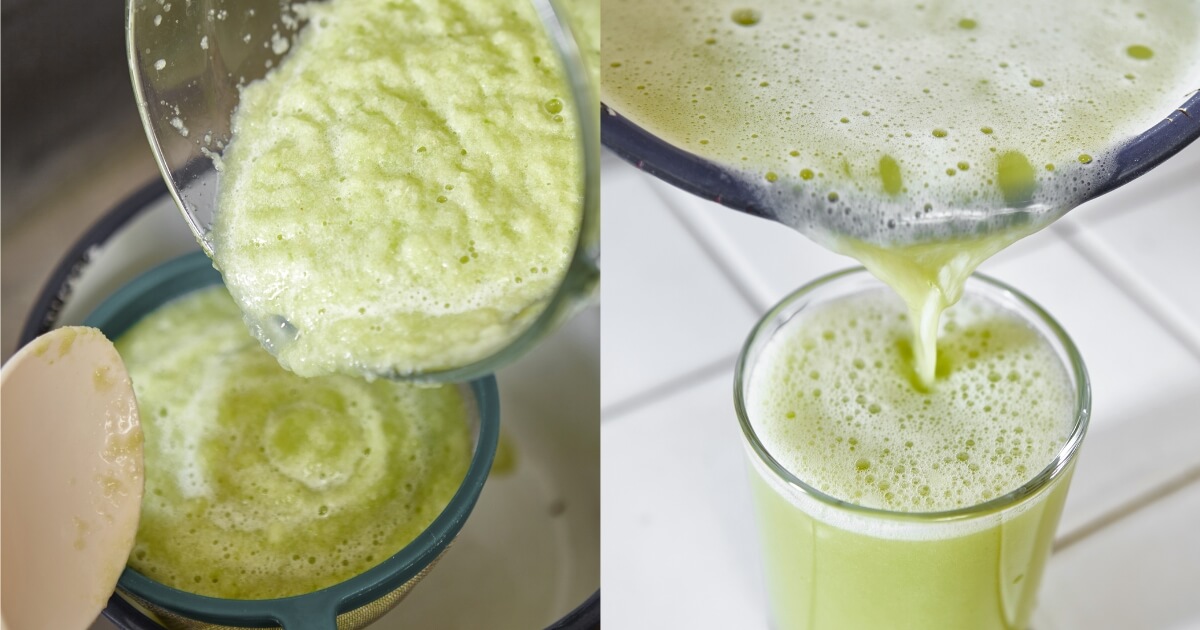
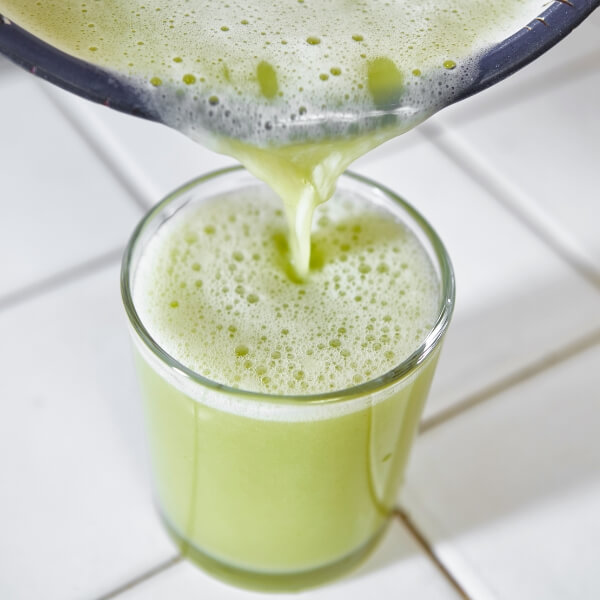
4. Time to Strain
Place your fine mesh strainer over your bowl and pour in the blended mix.

Consider using a nut milk bag instead of a strainer. Why?
Well, a nut milk bag is designed to handle liquids and fine particles, making it perfect for getting smoother juice. Plus, it’s easier to squeeze and ensures you extract every bit of flavor and nutrients from your produce.
Grab that spatula and press down to get all the juicy goodness out, whether you’re using a strainer or a nut milk bag. Let it sit for a bit to get every last drop.
If you’re a fan of thicker juice, give it another press with the spatula.
5. Clean Up Before You Drink Up
Before you indulge in that fresh glass of juice, let’s tackle the cleanup. It might be tempting to leave it for later, but cleaning up now will save you a lot of scrubbing and elbow grease.
Blender: Start with your blender. Pour out any leftover juice, and give it a quick rinse to remove the initial layer of pulp.
Fill your blender with a little warm water and a very small drop of dish soap. Give it a quick blend to dislodge any bits, making your cleanup a breeze.
This little trick helps to dislodge any stubborn bits stuck under the blades. Pour out the soapy water and rinse well.
Strainer or Nut Milk Bag: If you’ve used a strainer, use a spoon or spatula to scrape out the remaining pulp.
This pulp can be composted or even used in cooking, so don’t toss it just yet! For those using a nut milk bag, turn it inside out and gently scrape off the pulp.
Rinsing: Hold your strainer or nut milk bag under running water. A soft brush can be your best friend if you notice any bits clinging on. Gently scrub to ensure all the tiny pores are free from pulp.
Drying: Once everything’s clean, let your tools air dry. This prevents mold or unwanted smells from developing, especially if storing them in closed cupboards.
And there you have it! A clean kitchen is a happy kitchen. With everything sparkling clean, you can truly relax and enjoy your juice.
6. Sip, Store, or Savor?
Now that you’ve got this vibrant, fresh juice in front of you, you might be wondering: “Do I have to drink it all now, or can I save some for later?” Let’s break it down.
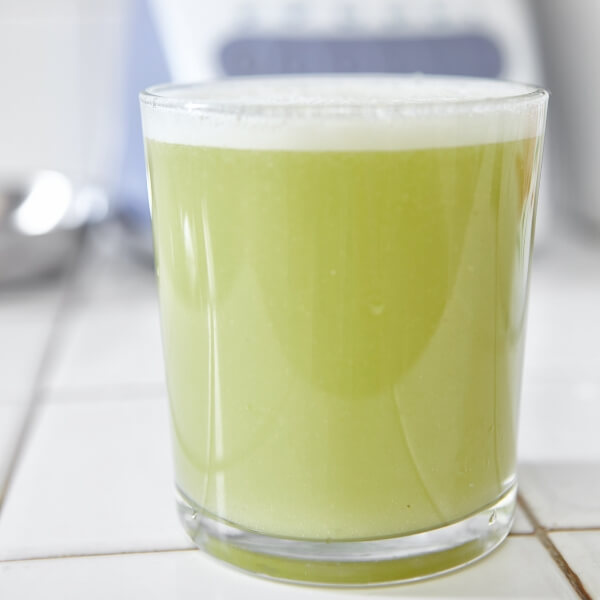
Immediate Gratification: Fresh juice is best enjoyed right after it’s made. Why? Because it’s when the flavor is at its peak, and the nutrients are most potent. The longer juice sits, the more it loses its zing and vitality. So if you can, savor that glass immediately. It’s a treat for your taste buds and a boost for your body.
Storing for Later: If you’ve made a bit too much and want to save some for later, you can, but with a few caveats. Fresh juice, especially from fruits, can oxidize, affecting its taste and nutritional value. To minimize this:
- Airtight Containers: Pour your juice into an airtight container, filling it to the top to reduce the amount of air inside. This helps slow down the oxidation process.
- Chill Out: Pop your juice in the fridge if you’re planning to drink it within 24 hours. This keeps it fresh and slows down any bacterial growth. Remember, fresh juice doesn’t have the preservatives that store-bought ones do.
- Freeze for Longer: Consider freezing your juice if you’re thinking beyond a day. Freeze your juice in ice cube trays. If you need your trays, transfer them to a freezer bag for longer storage. This way, you can thaw and enjoy a glass whenever you fancy. Remember, while freezing preserves most of the nutrients, there might be a slight change in texture and taste once thawed.
A Little Reminder: Before drinking stored juice, give it a good shake or stir, and always do a sniff and taste test. If something seems off, it’s better to be safe and toss it out.