Making pulled pork is a labor of love. I’ve spent countless Sundays slow-cooking a pork shoulder, carefully selecting my spices, and eagerly waiting for that moment when the meat is so tender it just falls apart. So, when I end up with leftovers, you bet I’m not letting that go to waste!
That’s where the magic of proper freezing techniques comes into play. When done right, you can open your freezer a month from now, defrost your pulled pork, and find it just as mouthwatering as the day you cooked it.
So, if you’re looking to make the most of your pulled pork leftovers, you’re in the right place. Stick around, and I’ll walk you through the ins and outs of freezing this BBQ favorite so you can relive those delicious flavors any day of the week!
Can You Freeze Pulled Pork?
Absolutely, you can freeze your pulled pork recipe to preserve its flavor, texture, and juiciness for up to six months.
If you’re like me, you know that cooking pork butt for shredding is not a spur-of-the-moment decision. It’s an event often involving hours of cooking. So, when you make a large batch, freezing the leftovers becomes a meal prep dream come true.
Imagine coming home after a long day and having a delicious pulled pork dinner ready to go after a quick defrost and reheat.
And let’s not forget about reducing waste. Food waste is a big issue, and when you’ve put so much love into cooking, the last thing you want is to throw away that effort. Freezing allows you to save not just the food but also the time and resources you invested in making it.
How To Freeze Pulled Pork
What You’ll Need
Before you even think about approaching that freezer, you’ll want to gather a few things:
- Resealable Freezer Bags: Heavy-duty, gallon-sized Ziploc bags are your best friend here. They’re sturdy and provide a good seal, which is important for keeping out moisture and air.
- Vacuum Sealer (Optional): If you’ve got one, a vacuum sealer is a fantastic tool for this job. It can extend the life of your frozen pork and keep it tasting fresh for longer than Ziploc bags.
- Permanent Markers: A permanent marker will help you jot down important details like the date of freezing and whether or not the pork is sauced. Trust me, you’ll appreciate this when you’re rummaging through the freezer months from now.
- Plastic Wrap: An extra layer of plastic wrap around the pork before it goes into the Ziploc bag can provide additional protection against freezer burn.
- Kitchen Scale (Optional): If you’re into precise meal planning, a kitchen scale can help you portion the pork to your needs.
- Measuring Cups: For those who like to freeze their pork in a sauce, measuring cups will help you portion out the right amount of liquid to keep the meat moist during reheating.
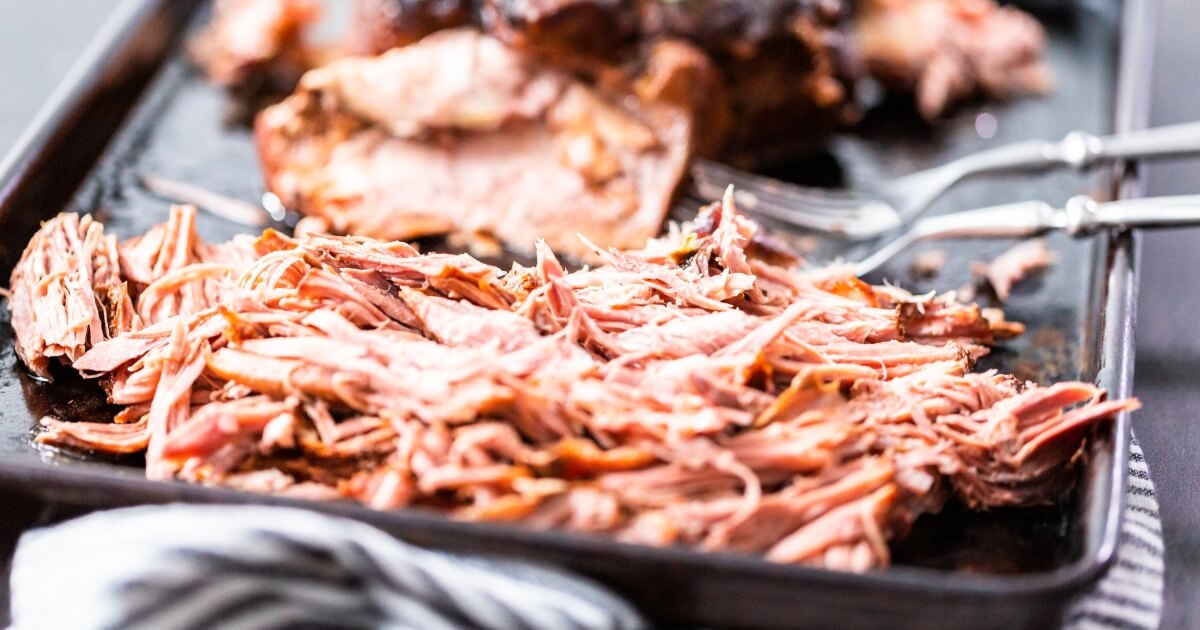
Step 1: Cooling Your Pulled Pork
Let your shredded pork cool down first! Let it sit in a pot on a deep dish until it reaches room temperature.
If you’ve ever tried to freeze anything hot, you know it can turn your freezer into an icy mess. But there’s more to it than just that.
Freezing your shredded pork while it’s still hot can actually cause it to become dry and lose flavor due to rapid moisture loss. So, patience is key here.
Step 2: Portioning
Think about your meal plans. Are you going to use the pork for sandwiches, tacos, or maybe a casserole?
Use a measuring cup for saucy pork or a kitchen scale for dry pork to get precise portions. If you’re using a scale, place a bowl on the scale, tare it off, and then transfer. This will keep things clean and with little hassle.
You’ll thank yourself later when you can just grab a pre-portioned bag from the freezer, defrost it, and you’re good to go.
Step 3: Wrapping
The next step is wrapping each portion in plastic wrap, which is especially important if you are using airtight containers. This extra layer acts like a shield, keeping out air and moisture, which are the arch-enemies of frozen food.
This is only going to work for dry pulled pork. So, if you’re saving sauced-up leftover pork, go to step 4 instead.
I like to place a large sheet of plastic wrap on the counter (Yes, it can be a bit tricky) and then transfer the pulled pork from my bowl onto it. Then, make sure you wrap it tightly to lock in those natural juices and flavors.
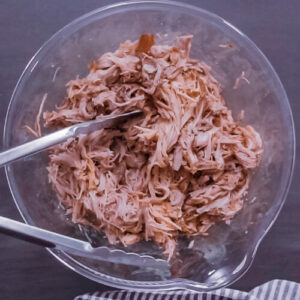
Step 4: Bagging
Now that each portion is snugly wrapped in plastic, it’s time for the final layer of defense: the bagging. You’ve got two solid options here—Ziploc bags or vacuum-sealed bags.
If you’re using Ziploc bags, make sure to press out as much air as possible before sealing. Air is not your friend in the freezing game and will lead to a higher risk of freezer burn.
If you have a vacuum sealer, this is its moment to shine. A vacuum sealer will suck out all the air, giving you the best possible seal and extending the life of your frozen pork.
Once your pork is bagged and sealed, you’re almost ready to stash it in the freezer.
Step 5: Labeling & Freezing
Grab a permanent marker and write the date and a brief description on each bag. Is it sauced or sauce-free? How much is in there? These details will save you from the guessing game later on.
I’ve had moments where I’ve pulled out mystery bags from the freezer, defrosted, and realized that’s not what I was expecting it to be. Instead of changing dinner plans, I put it in the fridge and forgot about it. Ugh.
My point is that labeling takes just a second but saves you a world of hassle down the line.
Now it’s time to put that perfectly portioned, wrapped, bagged, and labeled pulled pork into the freezer. But wait, don’t just toss it in there willy-nilly. Placement matters.
Aim for a flat surface where the bags can lie to help even freezing. Avoid the basket where the bag could potentially droop and make it difficult to remove or stack later.
If you don’t have much space, you can freeze the bags on a cookie sheet and then transfer the stack once they’ve frozen.
How Long Can You Freeze Pulled Pork?
So, you’ve got your pulled pork all neatly tucked away in the freezer. The next question on your mind is probably, “How long can it stay there?”
The good news is that when properly stored, pulled pork can last in the freezer for up to six months. That’s half a year of potential pulled pork dinners just waiting to happen! Although, you should probably aim for 3 months just to prevent any of the issues we’ve covered so far.
Freezer burn is the nemesis of any frozen food, and pulled pork is no exception.
Signs of freezer burn include discoloration, dry spots, and a change in texture. If you see any of these signs, it doesn’t necessarily mean your pork has gone bad, but it will affect the quality. The flavor might be off, and the texture could be less than appealing.
To avoid freezer burn, make sure you’ve followed all the previous steps carefully, especially removing as much air as possible from the bags and using that extra layer of plastic wrap.
If your freezer is prone to ice buildup, an issue might need to be addressed. In that case, I’d avoid planning long-term storage to help maintain the quality of your packages.
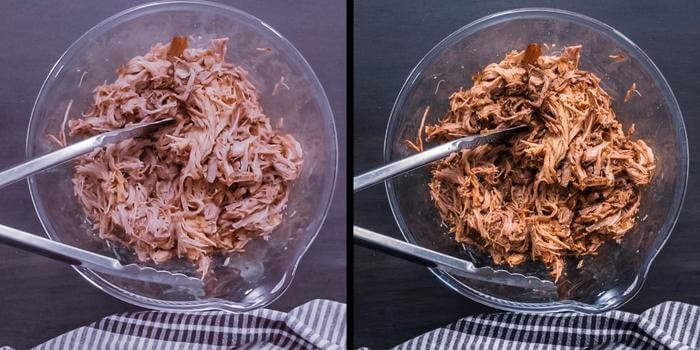
To Sauce or Not to Sauce?
Ah, the saucy dilemma. Should you freeze your pulled pork with sauce or keep it separate? Well, both approaches have pros and cons, so let’s break it down.
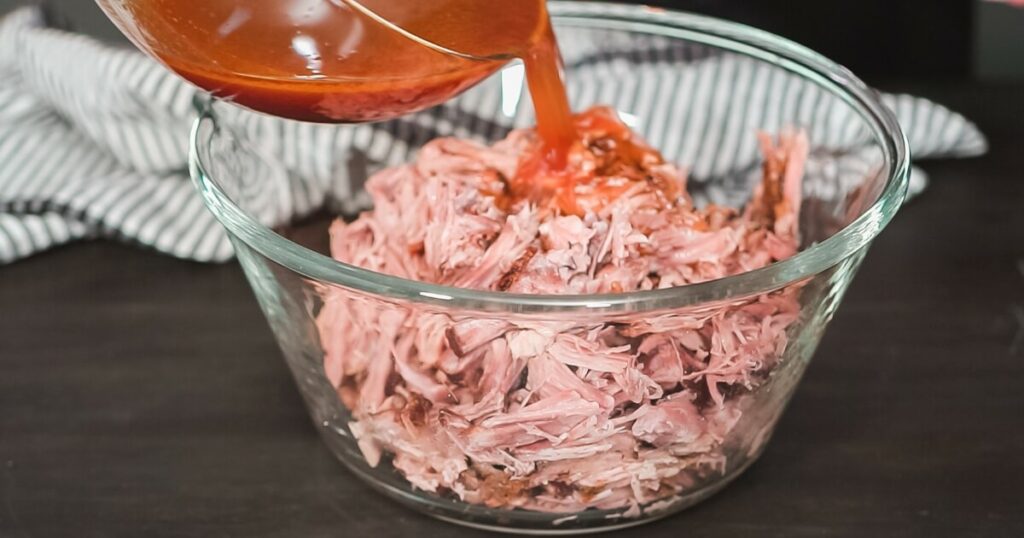
Freezing With Sauce
Pros:
- Flavor Infusion: The sauce can continue to marinate the meat while it’s frozen, giving you an extra burst of flavor when you reheat it.
- Moisture: Sauce can help keep the meat moist during the freezing and reheating process, reducing the risk of ending up with dry pulled pork.
Cons:
- Limited Versatility: Once it’s sauced, that pork is committed to a specific flavor profile. This can limit your options for using it in different recipes later.
- Texture Risks: Depending on the ingredients, some sauces may separate or become grainy when frozen and then reheated.
Freezing Without Sauce
Pros:
- Versatility: Sauce-free pulled pork is a blank canvas. You can use it in a variety of dishes, from tacos to casseroles, without being tied to a specific flavor.
- Texture: You avoid the risk of the sauce’s texture changing during freezing and reheating.
Cons:
- Potential Dryness: Without the added moisture from the sauce, you’ll need to be extra careful during reheating to ensure the meat doesn’t dry out.
- Less Immediate Flavor: You’ll need to add sauce or seasonings during the reheating process, which adds an extra step.
Defrosting and Reheating Pulled Pork
The key to a satisfying pulled pork weekday night encore is in the defrosting and reheating.
Defrosting Methods
- Refrigerator: The safest method is to let the pork thaw in the fridge. It takes time, usually about 24 hours, so you’ll need to plan ahead.
- Cold Water Bath: I’m not a fan of this, but if you’re in a bit of a hurry, you can place the bag of pork in a cold water bath. Make sure to change the water every 30 minutes to keep it cold. This method can take 2-4 hours, depending on the size of the portion.
- Microwave: The quickest but riskiest method. Use the defrost setting and keep a close eye to prevent the meat from starting to cook.
Reheating Tips
- Low and Slow: Low and slow is the way to go whether you’re using a slow cooker, oven or stovetop. A low heat ensures even reheating without drying out the meat.
- Add Liquid: A little broth, apple juice, or reserved sauce can help keep the meat moist during reheating.
- Cover It Up: Use a lid or aluminum foil to trap moisture and heat, making for more even reheating.
Safety First
- Check the Temperature: Always make sure the internal temperature reaches at least 165°F to make sure that it’s safe to eat.
- One-Time Reheat: Once you’ve thawed and reheated the pork, it’s best not to refreeze it. The quality will suffer, and there are safety concerns with multiple freeze-thaw cycles.
How To Freeze Pulled Pork
Equipment
- 4 ResealableFreezer Bags VacuumSealer (Optional)
- 1 Permanent Marker
- 1 Roll Plastic Wrap
- 1 Kitchen Scale
Ingredients
- 8 cups shredded pork
Instructions
Freezing Steps
- Let your cooked pulled pork reach room temperature.
- Divide the pork into meal-sized amounts using a measuring cup or kitchen scale.
- Tightly wrap each portion in plastic wrap.
- Place the wrapped pork into Ziploc bags, removing as much air as possible, or use a vacuum sealer.
- Write the date and a brief description on each bag with a permanent marker. Lay the bags flat in a dedicated area of your freezer for even freezing.
Defrosting and Reheating Steps
- Thaw your pork in the fridge for 24 hours, or use a cold water bath or microwave for quicker thawing.
- Use low heat on the stovetop or in the oven, adding a bit of liquid to keep the meat moist.
- Use a lid or aluminum foil during reheating to trap moisture and heat.
- Ensure the internal temperature reaches at least 165°F before serving.
- Serve and enjoy your delicious pulled pork!