Dehydrating food is an excellent way to save money and reduce waste by drying fruits, vegetables, meats, herbs and more, so these items will last you a very long time.
Not only is the method gentle on your budget, but it is also great for your health, as dehydrated foods retain more fiber and nutrients than cooked foods.
Although you can dehydrate at home using an oven or microwave — or go really old school and utilize the sun — using a specialized food dehydrator is the most hygienic and efficient way to go about it.
In this guide, we will talk you through how to use a food dehydrator with many different types of food and answer all those burning questions you have about the process.
SEE ALSO: Is Food Dehydration Safe?
Food Dehydrator Uses
A home food dehydrator can be used to dehydrate almost any food item you can think of, be it fruit, vegetables, meat or grains.
Not only can you store bits and pieces away for healthy snacking alternatives, but you can also literally package ingredients up together to make pre-prepared meals like soup or risotto.
Campers and hikers are big fans of dehydrating; it allows them to take lightweight yet nutritious snacks and meals on the trail with them for quick, healthy and easy sustenance.
From fruit leather and meat jerky to kale chips and yogurt, there is almost no limit to the delicious snacks and meals you can create in your very own kitchen.
How To Dehydrate Food
The process of using a food dehydrator is a very easy one. All you need to do is prepare and chop the food, lay it on the trays, select the right temperature and dehydrating times, then check on your food once in a while.
Naturally, you will need to follow the instructions that come with the particular brand of dehydrator you choose, but generally speaking, using a dehydrator is simple.
What You Will Need
- Dehydrator
- Sharp knife
- Peeler
- Clean water for washing fruit
- Paper towels
- Chopping board
- Containers or bags for storing fruit after drying
- Lemon juice (optional)
- Spices, marinades and flavorings (optional)
Directions
Using your dehydrator follows the same general principles no matter what you’re preparing, although preparation, dehydrating times and temperatures will vary for different foods.
You will need to precook meat as a safety precaution, and may want to blanche some vegetables to shorten the dehydration process.
How To Dehydrate Vegetables
As a general rule, any vegetable that you would happily eat raw doesn’t need to be pre-cooked before dehydrating.
Any other vegetable should be blanched or steamed for 10 minutes.
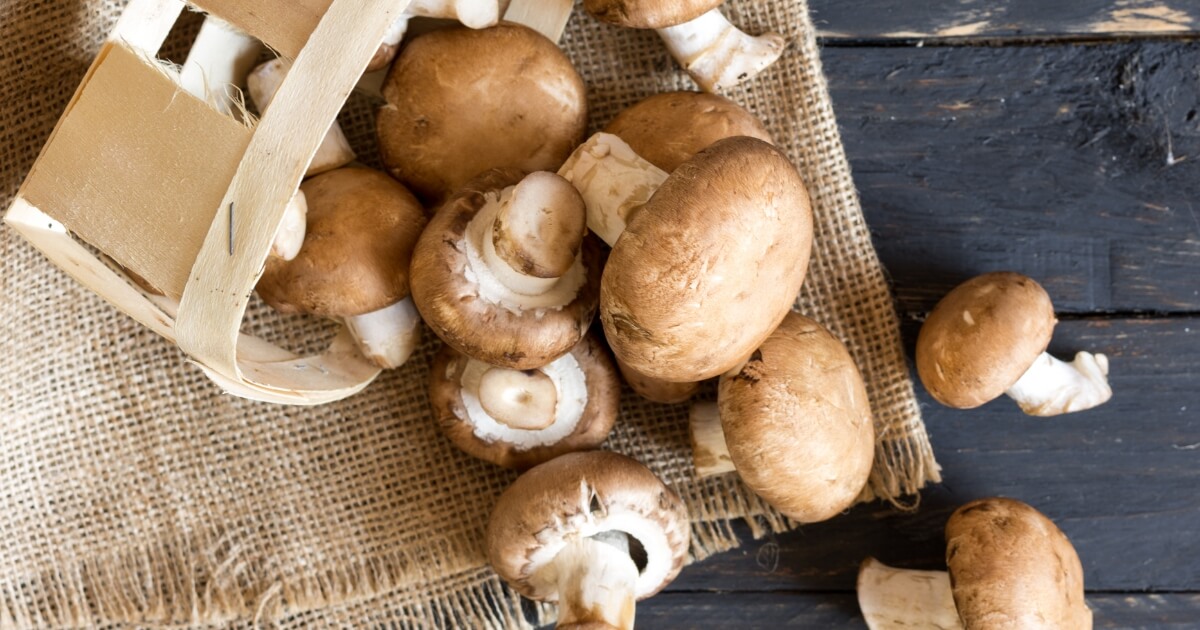
- Wash vegetables thoroughly, except mushrooms, before chopping and pat dry with a paper towel.
- Peel and remove seeds if appropriate.
- Slice vegetables, ensuring they are all roughly the same size and thickness.
- Add seasonings, herbs or spices if you wish.
- Line the sliced vegetables on your dehydrator trays, grouping them together by type. Make sure they are well spaced for adequate airflow and even drying.
- A general guideline is to dehydrate at 145F for 4-6 hours, but always check your manual for unit-specific instructions.
- As the set time approaches, frequently check on the progress of your veggies. If the slice feels dry, try cutting it in half; if there are drops of moisture in the cuts, you will need to keep going a little longer.
- Once your vegetables are dehydrated, allow them to cool before storing them away.
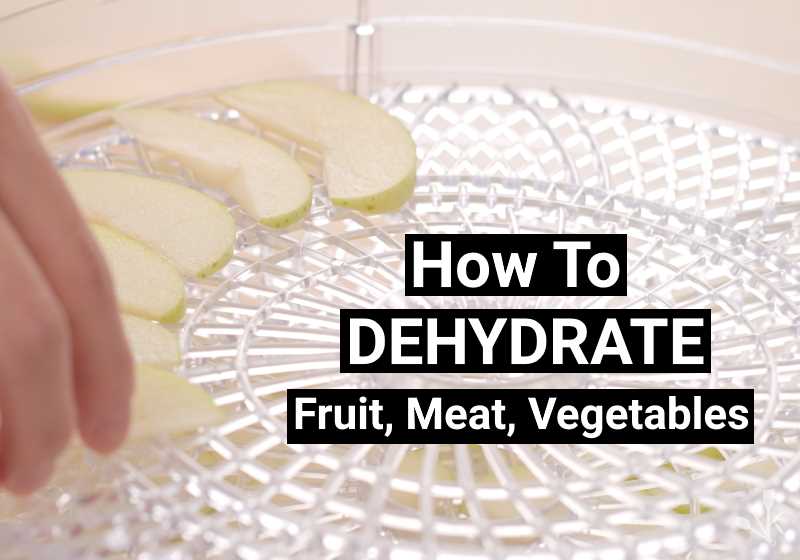
How To Dehydrate Fruit
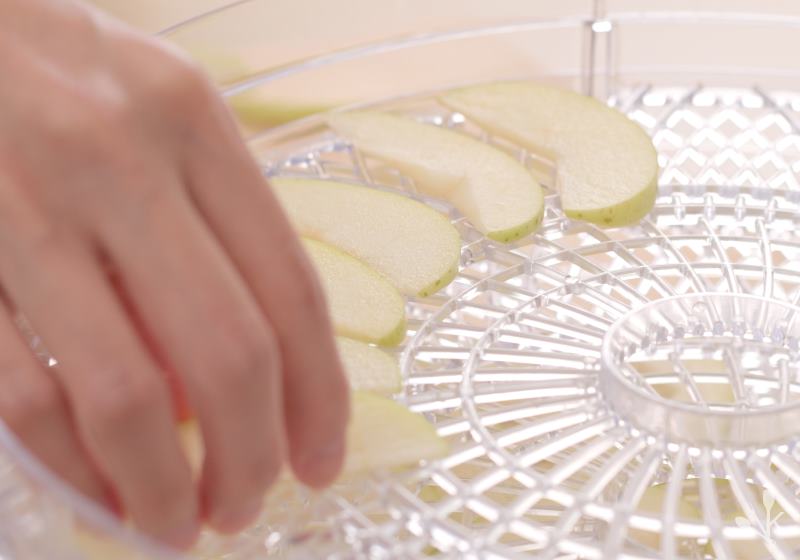
There are two key ways to dehydrate fruit:
First, you can chop or slice pieces of fruit to eat as sweet yet healthy snacks. Second, blended up fruit can be dehydrated to make fruit leather or fruit-rolls.
- Wash fruit in clean water and pat dry with a paper towel.
- Peel the fruit if required – only necessary if you wouldn’t generally consume the peel.
- Remove cores or seeds if appropriate.
- Cut larger fruit up into small chunks or slices. Small items like berries can be left whole.
- Spray or coat slices of banana or apples with lemon juice to prevent browning (optional).
- Line fruit slices or chunks on the dehydrator trays, ensuring they are spread apart and don’t touch.
- Dry at 135F for 8-12 hours (check your instruction manual for unit-specific times and temperatures.)
- Once the fruit is leathery and dry, allow it to cool naturally before packaging.
How To Make Fruit Leather
Fruit leather is a delicious and natural sweet treat that kids and adults alike will love. If you’re after an added health boost, add some pureed veggies in for extra nutrition.
- Wash, peel and remove seeds (where appropriate) from your fruit (and/or vegetables).
- Slice them up and blend until smooth – ensure the texture is not too runny.
- Carefully spread the resulting mixture onto your dedicated fruit leather sheet (if your dehydrator has one). Lay it around ¼ inch thick.
- Place the sheet inside the dehydrator and dry for around 4 hours at 110F (check your manual for unit-specific instructions.)
- Once the leather is completely dry, peel it off, flip it over and return it to the dehydrator for a further 2 or 3 hours.
How To Dehydrate Meat
Because poorly prepared meat can spoil and potentially make you very ill, you need to take a bit of extra care to ensure you are using safe practices when dehydrating meat.
The most important factor is heating the meat to high enough temperatures to kill any bacteria, a task that some food dehydrators may not be adequate for.
To be extra safe, the USDA recommend pre-cooking any meat thoroughly before dehydrating.
Meat should be cooked (via steaming or roasting) at a minimum of 160F, and poultry 165F.
Once you have pre-cooked your chosen meat, you are free to get dehydrating, as long as your unit can maintain temperatures of at 145F and above during the process.
You’ll need to select lean meat and avoid dehydrating anything fatty. Those extra fat deposits don’t dry well and will spoil rapidly.
Most people choose to marinate meat overnight (in the fridge) to give it some extra tastiness before dehydrating.
- Remove skin, bones and any fat or sinew from your meat.
- Cut into ¼ inch slices.
- Marinate in fridge overnight (optional).
- Pre-cook at 160F (165F if poultry).
- Rinse slices with clean water before patting dry with a paper towel.
- Spread slices evenly on trays, ensuring no overlap and plenty of room for air circulation.
- Dry at minimum temperatures of 145F for at least four hours (check your instruction manual for unit-specific directions.)
- Check on your meat towards the end of the process. If it’s done, it should be completely dry, with no cold areas. When bent, it will crack but not fully snap.
- Once done, leave it to cool for several hours.
Dehydrator FAQ
What Temperature Should I Use To Dehydrate Food?
This varies depending on the dehydrator and type of food you are using. Generally, the times and temperatures will be outlined in the instruction manual of your unit.
As a rule, fruit and vegetables should be dehydrated at 135-140F, while meat needs to reach temperatures of 160F.
This can be achieved through pre-cooking your meat, then dehydrating it at a consistent temperature of 145F and above.
How Do I Know If My Food Is Done?
In order to ensure your food won’t spoil and can be stored for long periods, you need to remove about 95 percent of the moisture content.
Food items that are successfully dried out should be hard and crunchy or leathery and dry. If the items still feel soft or sticky, particularly in the center, they’re not done yet.
Food Dehydrator Tips
Good dehydrating technique can take a bit of practice. Here are some tips to help you get the best results right away.
Be sure to blanch veggies before dehydrating. This will help speed up the dehydration process and also sets the color for a more attractive and appetizing appearance.
If desired, season your fruits, veggies or meats for enhanced flavor.
When it seems that your foods may be done, simply test by cutting a slice. If you see no moisture in the cut, you know that your food is fully dehydrated.
Remove your foods from the dehydrator and allow them to cool in the open air. Once completely cool, store your dehydrated foods in airtight containers in a dark, dry area.
If you should find that your dehydrated foods are no longer crisp, you can return them to dehydrator for an hour or two to restore them to a crisp texture.
Slice all items to the same thickness and size to ensure they dehydrate at the same rate. The smaller and thinner you cut your food, the faster it will dehydrate.