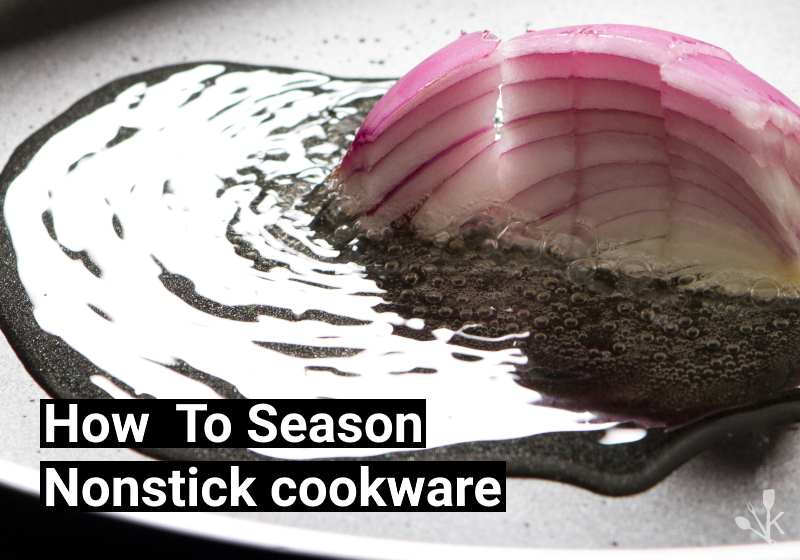
Seasoning a cast iron skillet is standard practice, but did you know that seasoning nonstick cookware is also a good idea? Doing so will condition your pots and pans and keep them perfect use after use by maintaining the integrity of the nonstick coating.
Seasoning is a great way to rescue nonstick pans that are starting to stick; it will help prolong the life of your nonstick cookware.
Fortunately, seasoning nonstick cookware is even easier than seasoning cast iron – all you need is a splash of oil, an oven, and a little bit of spare time.
Seasoning a Nonstick Pan
Your nonstick pan is designed to repel food, but it doesn’t always work and can have a rather limited lifespan.
You need to be sure that the surface of the pan is smooth and slick. Seasoning your pan will do just that – the oil will fill in any gaps or spaces in the coating and will keep your food from sticking.
Before you continue to put you pan in an oven, see our guide on How To Tell If A Pan Is Oven Safe.
You’ll need an oven, some cooking oil, and some paper towels.
1. Preheat your oven to 300 degrees Fahrenheit while you prepare your pan. Only required if your nonstick pan is oven safe. Many are not.
2. Wash your pan. Whether it’s well-loved or brand new, this is an important step. Try warm, soapy water first. For stubborn stains or stuck-on food, add two cups of water, 2 tablespoons of baking soda and half a cup of vinegar to your pan. Boil it on the stovetop for 10 minutes.
Remove from heat and once cool, wash with soap and water. When it’s sparkling clean, dry it thoroughly before moving on to the next stage.
3. Apply oil. Most people prefer canola, vegetable or coconut oil. Olive oil is designed for lower heats so doesn’t work well for seasoning. Rub the oil into the nonstick surface of your pan.
If you preheat your pan on medium heat for a couple of minutes before placing the oil on the pan, you’ll expand the surface and help the oil find the gaps to fill.
4. Heat the oil. Once your pan has a nice coating of oil, keep it over medium heat for a few minutes to let the oil get nice and hot. Here’s where it will begin to cook into the pan.
NOTE: Make sure that your pan is oven safe! If it isn’t, you can skip this next step.
Next, take your nonstick pan and place it in the oven. The type of oil you use will determine the time. If you use coconut oil, which heats quickly, it will only need about 20 to 30 minutes. If you use vegetable oil, you can leave the pan in the oven for up to two hours.
5. Allow your pan to cool overnight. You can leave it in the cool oven or set it out on the counter-top. The goal here is to allow the pan to cool completely so that the surface of the pan will contract and absorb any extra oil.
6. Wipe your pan with a dry paper towel to remove any extra oil.
Your pan is now ready to go! To clean, just wipe with a sponge or rag. If you use lots of soap, you’ll wash off the oil and you’ll have to start all over again. For best results, deep clean and re-season your nonstick pans every couple of months.
My Nonstick Pan Is Sticking
If food isn’t sliding off your nonstick pan like you hoped it would, there could be a few problems. Here’s a list of things to check:
- Is the coating scratched and have dents in the surface?
- Is the pan older than two years?
- Has the pan been used repeatedly over high heat?
- Did metal utensils touch the pan?
- Do you put the pan in the dishwasher?
- Do you stack your pans on top of one another?
If you can answer ‘yes’ to any of the above questions, then you have probably damaged the nonstick coating of your pans. If there are severe scratches to your pan or if it is older than 2 or 3 years, you will have to get rid of the pan.
Damaged nonstick pans may present health risks and aren’t going to do their job well.
If your pan isn’t too badly damaged and is still working to a degree, then try the above seasoning steps to give your nonstick pan new life.
Follow these steps to help keep your pan working well throughout its lifetime.
- Never use your nonstick pan on high heat.
- Get silicone and wooden utensils for use in nonstick pans.
- Use your nonstick pan only for certain foods (like fish, eggs, and pancakes).
- Don’t bake in an oven over 425℉ and always protect rubber handles with tin foil.
- Use a separator when stacking nonstick pans, like a paper plate or some cloth.
Wash with soft sponges and gentle cleaners and DON’T put it in the dishwasher.

