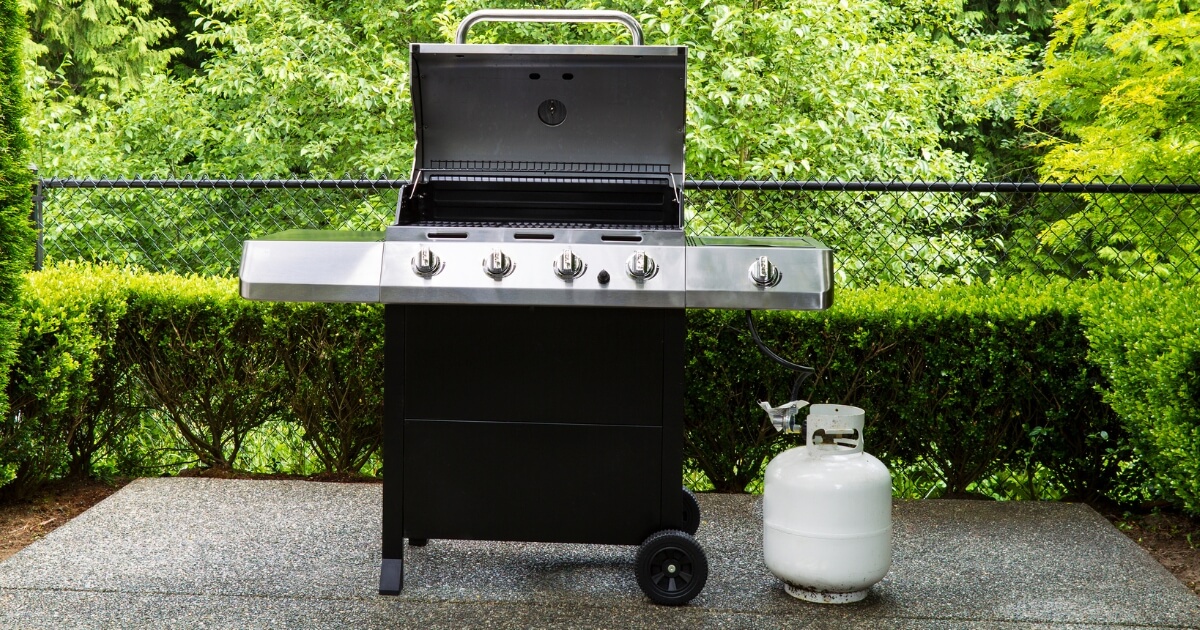
Natural gas barbecue grills offer several benefits compared to traditional propane grills. They connect straight to your home’s gas line, making them more cost-effective over time.
The standout benefit is eliminating the need to refill fuel bottles, ensuring you never run out of gas during a barbecue. Many owners appreciate this convenience when switching to a natural gas grill.
But can you convert a propane grill to natural gas instead of buying a new grill?
Yes, you can use natural gas on a propane grill, but it requires a conversion process. You’ll need a specific conversion kit for your grill’s brand and model. Always ensure proper installation and safety checks to avoid potential hazards.
Warning: While conversion kits are available and easily accessible, converting propane to natural gas should be done by a professional. Modifying your gas line could lead to an explosion causing injury or death.
In this guide, we will look at how to make the change through 6 steps of the overall process. You must follow your grill’s and conversion kit’s instructions and manuals for the details to do the conversion safely.
Materials You’ll Need For The Conversion
Before diving into the conversion process, it’s essential to have all your tools and materials ready. Here’s a handy list to ensure you’re well-prepared:
- Conversion Kit: Specific to your grill’s brand and model. Don’t lose the instructions!
- Adjustable Wrench: For tightening and loosening connections.
- Pipe Thread Sealant: To ensure airtight connections.
- Spray Bottle: To mix your water and dish soap solution for leak detection.
- Dish Soap: A few drops will do for your leak detection solution.
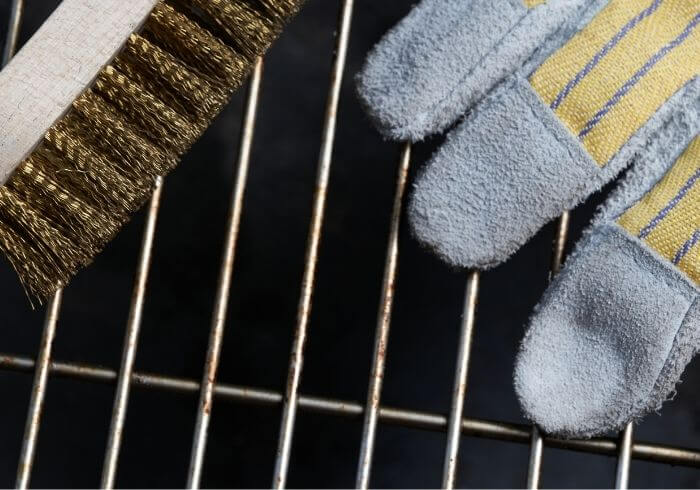
- Safety Gloves: Always prioritize safety.
- Grill Manual: Keep it close for any specific instructions or troubleshooting tips.
Step 1: Assess Your Grill’s Condition And Purpose
Before you even think about converting your propane grill to natural gas, take a moment to really look at your grill. If you have a cheap gas grill, is it worth it? Is it in good shape?
If your grill has seen better days, it might be time for an upgrade rather than a conversion.
But if everything looks up to snuff, consider why you’re making the switch. Is it to save on fuel costs in the long run? Or maybe to avoid those last-minute propane tank runs during a BBQ?
Whatever your reason, make sure it’s a good one.
Have a look at this video to get an idea of what you’re up against to see if you’re still onboard with the conversion:
Step 2: Safely Turn Off And Disconnect Your Propane Supply
Safety always comes first. Before diving into the conversion, ensure your propane supply is turned off.
Once you’ve turned it off, carefully disconnect the propane tank from your grill. If you’re unsure about how to do this, it might be a good idea to consult your grill’s manual or even watch a trusted tutorial.
Always double-check. There’s no shame in double-checking.
Step 3: Choose The Right Conversion Kit
Picking the right conversion kit is crucial. Not all grills are made the same, and neither are conversion kits.
First, check your grill’s brand and model. Once you’ve got that info, look for a kit specifically designed for your grill’s make and model.
Here are a few popular conversion kits:
If you’re feeling a tad overwhelmed, don’t hesitate to ask for help.
Whether it’s a store associate or a trusted online forum, getting a second opinion can help you avoid getting into trouble. Sometimes it’s those little tips that make all the difference.
Step 4: Install The Conversion Kit With Care
You’ll want to methodically follow the kit’s instructions.
Lay out all the parts on a clean surface, much like you’d arrange your ingredients before cooking. This way, you can see everything you’re working with and ensure nothing gets overlooked.
Begin by removing the old propane components from your grill. Once that’s done, start installing the new natural gas components.
Follow the manual and instructions to the letter. If a step seems confusing, pause and re-read.
Remember, there’s no rush. It’s better to take your time and get it right.
Lastly, once everything’s in place, double-check your work. Ensure all connections are secure.
Step 5: Test Your Grill for Any Leaks
You’ve done all the prep work, hooked up the gas to your grill, and now it’s time to make sure there are no gas leaks.
First, mix a solution of water and a few drops of dish soap in a spray bottle. Think of it as your secret sauce for detecting leaks.
With the gas turned on but not your grill, lightly spray this solution over the areas where you’ve made connections. If you see bubbles forming, that’s a sign of a leak.
If you spot any bubbles or smell natural gas, turn off the gas immediately. Tighten the connections and test again.
Keep tweaking until there are no more bubbles. If you’re having trouble, don’t hesitate to consult a professional.
Once you’re confident there are no leaks, you should be good to go!
Step 6: Fire Up and Fine-Tune Your Grill
Now, here’s the exciting part, much like that moment when you’re about to plate up a dish you’ve poured your heart into. It’s time to ignite your grill and see it in action with its new natural gas setup.
Turn on the gas and ignite your grill. Let it heat up for a few minutes.
Once it’s hot, check the flame color. A steady blue flame indicates that everything’s working perfectly, just like when you achieve that golden-brown crust on a pie.
If the flame is more yellow or orange, it might mean there’s an issue with the air-to-gas ratio.
Sometimes, it’s just about making minor adjustments. Consult your grill’s manual or seek professional advice.
Remember, the goal is to have a safe, efficient grill ready to deliver mouth-watering dishes.
Final Thoughts
Safety should always be at the forefront when making changes to your grill.
Converting to natural gas offers fantastic benefits, but ensuring every step is done correctly and securely is essential.
Always double-check connections, test for leaks, and consult your grill’s manual or a professional if you’re unsure about any part of the process. Remember, the joy of barbecuing comes not just from the delicious meals but also from the peace of mind of knowing you’re grilling safely.