I suggest beginning your smoking journey with some simple cuts of meat and a basic setup to get that deep, smoky flavor. Sounds doable, right?
Now, I can sense what might be running through your mind. Smoking meat as a beginner? Isn’t that reserved for seasoned pitmasters? No way!
Many beginner-friendly guides and equipment are tailored for newcomers, so smoking meat in your backyard has never been more accessible.
But here’s the thing, not all smoking methods are beginner-friendly.
That’s where this guide steps in. You’ll learn the essentials of smoking meat at home for those just starting out.
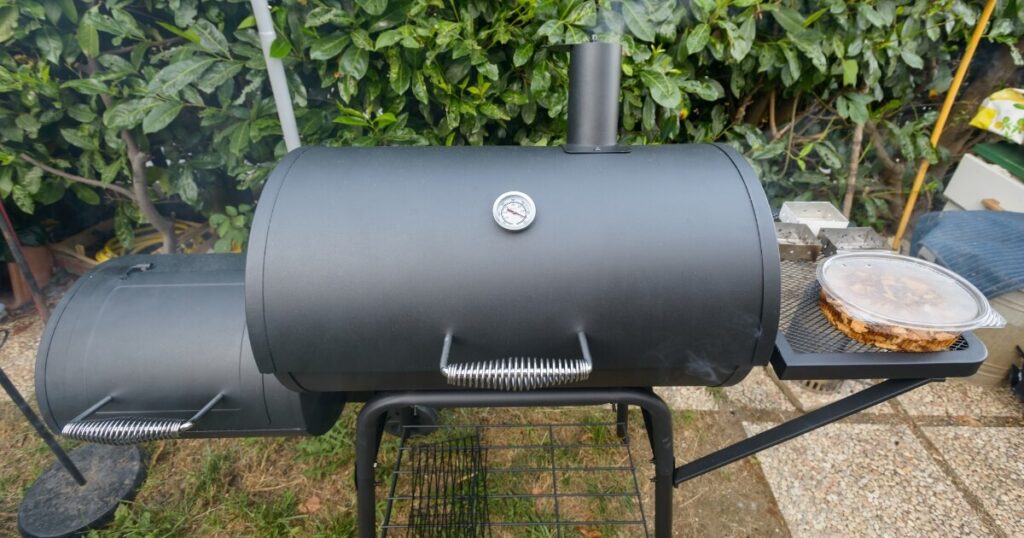
1. Choosing The Right Equipment
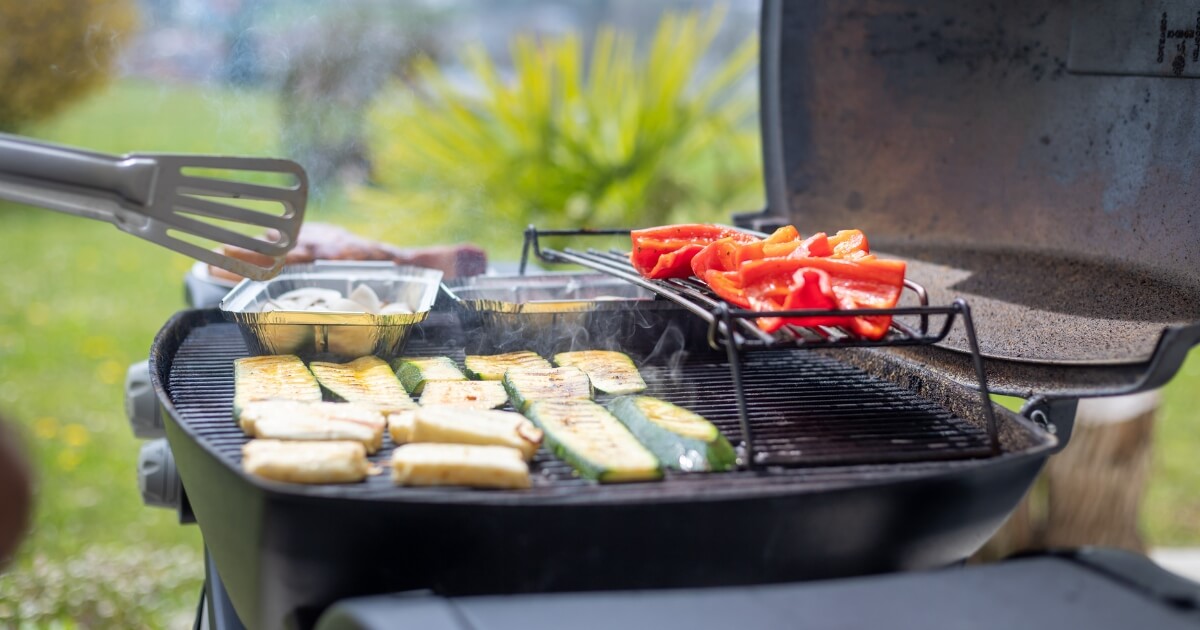
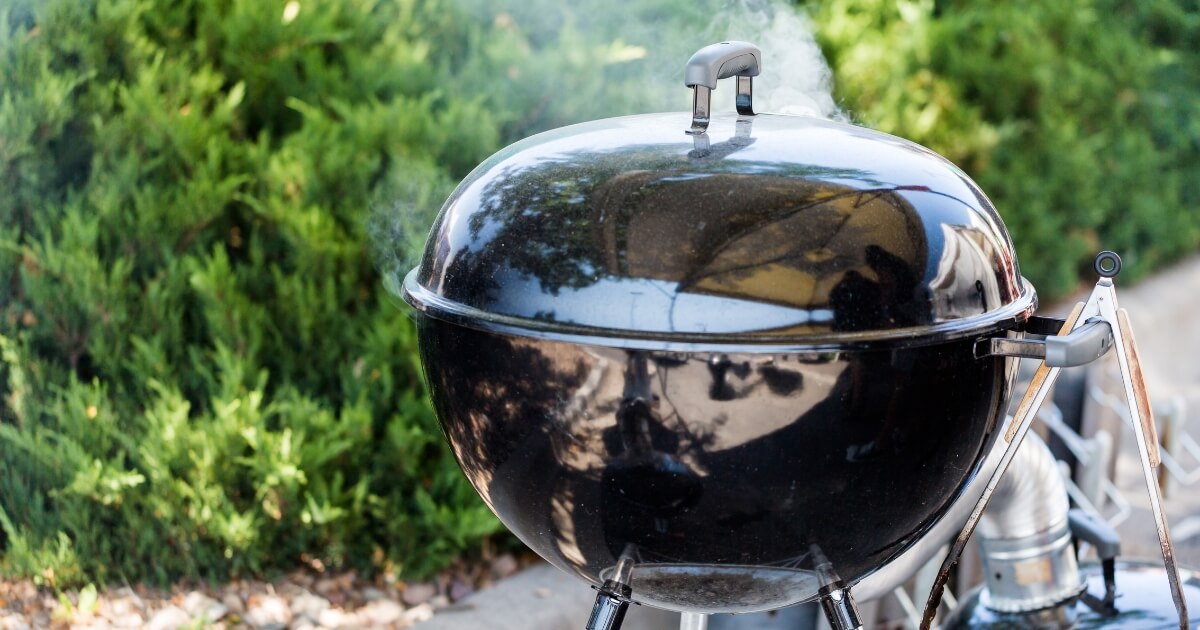
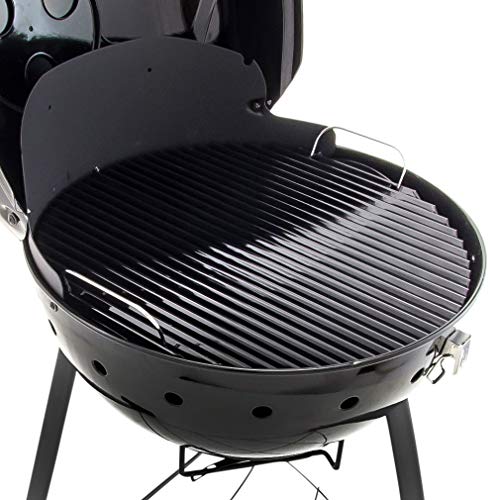
Start With A Basic Grill
The classic kettle grill is a staple in many backyards for BBQ.

Its round, deep design with a tight-fitting lid makes it the perfect smoking vessel for beginners. Plus, its design allows for both direct and indirect heat for cooking.
You can easily sear steaks on one side while smoking a piece of beef brisket on the other.
Char-Broil Kettleman TRU-Infrared Charcoal Kettle Grill | Editor Recommended
Top Features
- Can BBQ, Grill, And Smoke Meats
- Large Cooking Area
- Vent Control
- Built-In Thermometer
And if you’re on the move, they’re light and have wheels to make rolling around the backyard easy.
The main draw is its affordability, making it an excellent entry point for those new to smoking. However, you can get pretty fancy with high-quality grills from brands like Big Green Egg or Kamado Joe.
When To Upgrade
Once you’ve got the hang of the kettle grill, you might crave more advanced features. That’s where specialized smoking grills come into play.
These grills are made for the smoking enthusiast, equipped with multiple air vents for precise temperature control. They also have larger cooking areas, perfect for those big family gatherings.
Some even have built-in water pans, ensuring your meat remains juicy throughout the smoking process.
And for those who love tech, there are models with digital controls and wood chip feeders, streamlining the smoking process and giving you more control over the flavor.
2. Types of Smoking
Cold Smoking
Cold smoking is all about infusing flavors without actually cooking the meat. You’re exposing your chosen cuts to smoke at lower temperatures, usually below 85°F.
This method is fantastic for cheese, Salmon, or veggies, giving them a smoky profile without changing their texture.
Remember, since the meat isn’t cooked, ensuring it’s safe to eat is essential. Proper curing or brining beforehand is a must to prevent any bacterial growth.
Hot Smoking
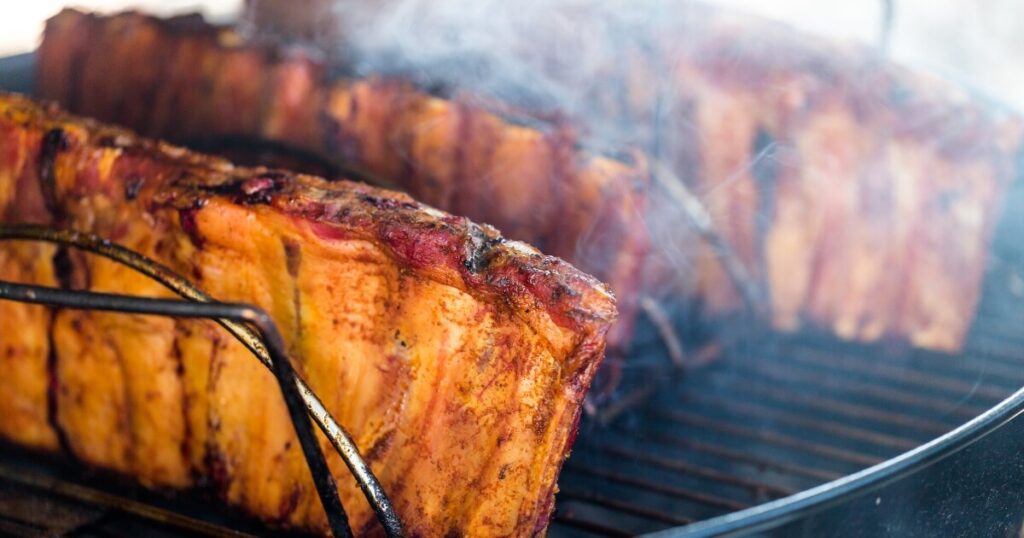
Now, hot smoking is where the magic happens for most meats. It’s a two-in-one deal, cooking the meat while infusing it with that smoky goodness.
Temperatures usually range between 225°F and 250°F, ensuring the meat is cooked through. Whether it’s pork ribs, brisket, or chicken, hot smoking transforms them into tender, flavorful delights.
The key here is patience. It’s a slow cooking process, but it’s worth the wait. Imagine pulling apart a perfectly smoked pork shoulder, with every bite bursting with flavor. I’m getting hungry just thinking about it!
3. Charcoal And Types Of Wood
Charcoal
When you’re just starting out, charcoal is often the go. It’s the foundation upon which all those smoky flavors are built.
Think of charcoal as the steady beat in a song, providing consistent heat while the wood chips or chunks introduce the melody of flavors.
There are two types of charcoal you need to know about: lump and briquettes.

Lump charcoal is made from pure, burned hardwood and tends to burn hotter and faster. It’s a bit unpredictable but offers a more authentic, wood-fired flavor.
Briquettes, on the other hand, are uniform in size and burn at a steady rate, making temperature control a bit easier for beginners. They’re made from a mix of wood and binders, providing a consistent burn.
When selecting charcoal, consider what you’re smoking and how long it needs.
- Lump charcoal might be your best bet for shorter smokes or when you want a hotter fire.
- For longer, slow-cooked smokes, briquettes can be a reliable choice.
And remember, while charcoal provides the heat source, it’s the wood that gives your meat its distinct smoky flavor.
Wood Size And Soaking
Think of wood as the seasoning for your smoker. The size you choose can make a big difference.
Larger wood chunks will smoke for longer, giving you a steady stream of smoke. On the flip side, smaller pieces tend to burn out faster but can be great for shorter smoking sessions.
Soaking your wood is a debated topic among smoking enthusiasts. While some swear by soaking wood chips to produce more smoke, others believe it merely delays the inevitable burning.
So, it’s up to you to experiment and see what works best for you.
Popular Wood Types
Choosing the right type of wood is like picking the perfect wine to pair with dinner.
- Hickory is a classic, imparting a strong and savory smokiness that’s perfect for pork and ribs.
- Mesquite has an intense flavor that is a match made in heaven for beef.
- Apple and cherry woods offer a sweet and subtle smokiness, ideal for poultry and fish.
- Pecan or oak provide a medium smoky flavor that’s versatile enough for most meats.
Whatever you choose, remember that wood is a major player in defining the final flavor of your smoked dishes.
4. Marinades, Rubs, and Barbecue Sauce
Marinating
Marinating is like giving your meat a flavorful bath. It’s a chance for it to soak up all those delicious flavors before hitting the smoker.
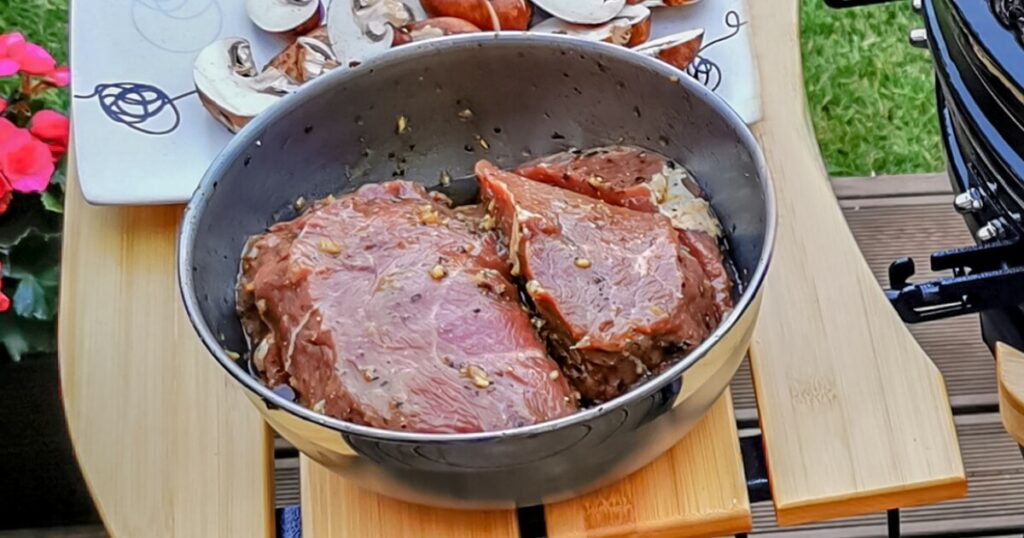
Consider marinating for at least a day for poultry to ensure those flavors penetrate deep. A good marinade often has a balance of acid, oil, and seasonings, which not only flavors the meat but also tenderizes it.
A few hours can do the trick when it comes to other meats, like beef or pork, but overnight is always better. Remember, the longer it marinates, the more intense the flavor will be.
Rubs
These are your meat’s best fashion statement, giving it that outer layer of flavor-packed goodness.
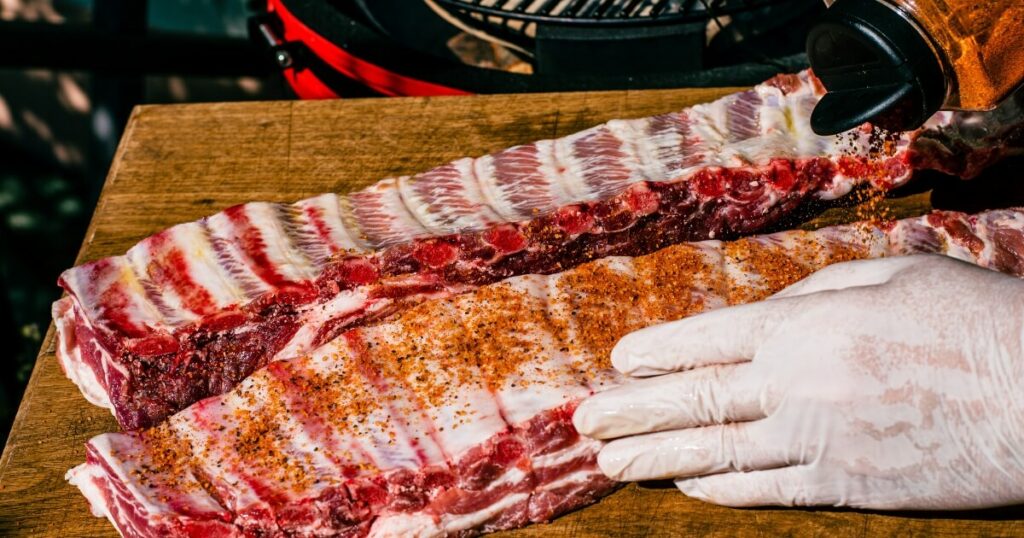
Start with a salt and black pepper base, then build from there. Think brown sugar for sweetness, paprika for color, or cayenne for a kick.
To simplify things, buy a pre-made BBQ rub until you get the hang of the process.
Once you’ve got your blend, generously coat your meat, pressing the rub into every nook and cranny.
As the meat smokes, that rub will form a beautiful crust known as the “bark,” a delightful mix of crispy, chewy, and incredible flavor.
Sauces
After all the patience and care you’ve put into smoking your meat, a sauce can be the cherry on top. It’s like the final brushstroke on a masterpiece, adding depth, moisture, and an extra layer of flavor.
Whether you drizzle it on top or serve it on the side, a good sauce can also elevate your smoked meat.
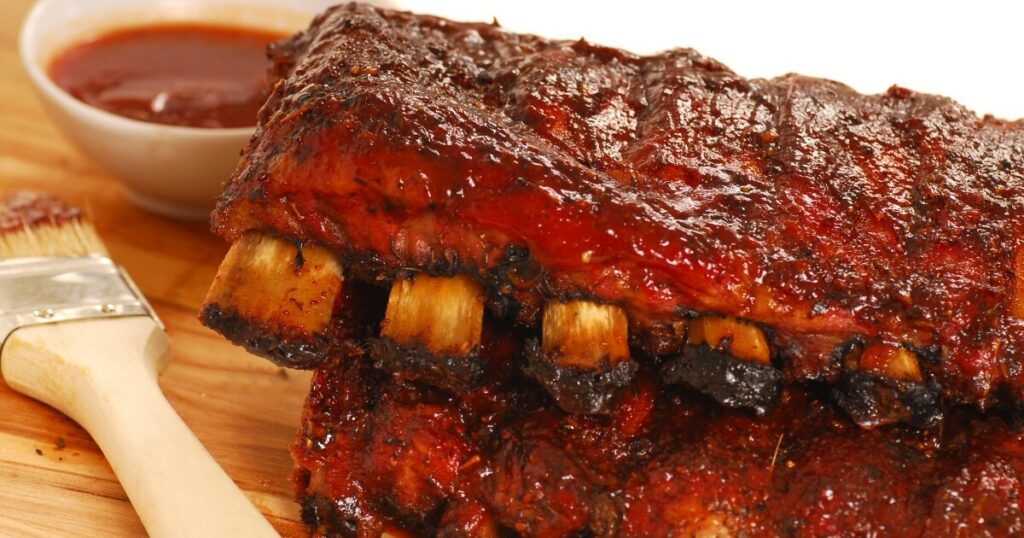
There’s a world of sauces out there, from tangy vinegar-based options to rich and sweet molasses-infused ones. Some regions swear by a mustard base, while others go for a spicy kick.
The beauty of sauces is that they’re incredibly customizable. Start with a basic recipe, and then tweak it to your liking. Want it sweeter? Add some honey. Looking for heat? A dash of cayenne might do the trick.
Remember, the sauce shouldn’t overshadow the smoky flavor you’ve worked so hard to achieve when it comes to smoked meats. It should complement and enhance.
5. Mastering Heat and Smoke Balance
Keeping the Wood Hot but Not Burning
Oxygen is like the lifeblood of your smoking process.
Too much, and your wood will burn up quickly, giving off too much heat and not enough smoke.
Too little oxygen and your wood might just smolder and die out.
It’s all about finding that sweet spot where the wood is hot enough to produce smoke but not so hot that it’s just burning away. This balance ensures that your meat gets that smoky flavor without cooking too quickly.
Directing the Smoke’s Path
Those vents on your smoker aren’t just for show. They’re your control knobs for the smoke.
By adjusting them, you can control the amount of air that gets in and out, affecting the temperature and smoke intensity.
Open them up for more oxygen and a hotter fire, or close them down to cool things off and produce more smoke.
And here’s a little trick for larger grills. Position your meat in the path of the smoke ensures it gets maximum flavor.
So, play around with those vents, get to know them, and use them to guide the smoke right where you want it.
6. Maintaining Consistent Temperature
Temperature Monitoring
Keeping a consistent temperature is what ensures your meat cooks evenly and absorbs all that smoky goodness.
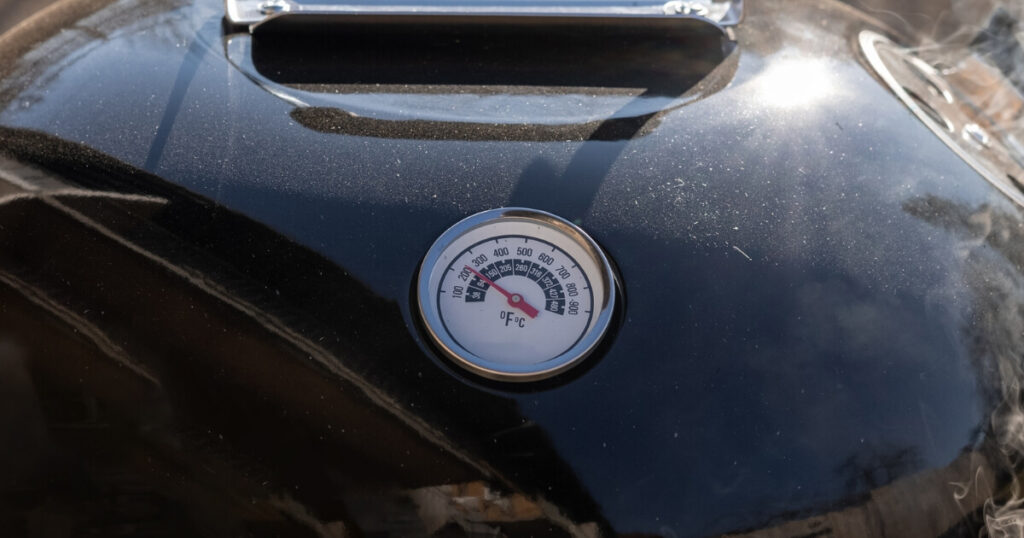
To keep an eye on things, consider investing in a good thermometer if your grill doesn’t come with one. There are digital thermometers that can send updates straight to your phone!
With these tools, you can easily check if the temperature’s too high or too low. And if you notice any sudden changes, you can quickly adjust accordingly to prevent disaster. Nothing worse than overdone, dry, or even burnt meat.
Keeping A Steady Low Temperature
Instead of adding charcoals or wood directly to your smoker for longer smoking sessions, why not have a separate fire going on the side?
This way, when you need to replenish the heat, you can add burning coals or wood to your smoker.
This method prevents any drastic temperature spikes and keeps things steady, giving your meat the perfect environment to become tender and flavorful.
Of course, if you don’t have the space or don’t want to invest in more equipment, you can still keep an eye on the temperature and adjust, as mentioned previously.
7. Preventing Flare-Ups
Flare-ups in the smoker can char your meat and give it a bitter taste.
To keep these uninvited flames at bay, introduce catch pans or tinfoil bowls beneath your meat.
These will catch any dripping fats or juices, preventing them from hitting your hot coals and causing a flare-up. Plus, they make cleanup a breeze.
8. Safety and Flavor
Temperature Guidelines
Getting your meat to the perfect level of doneness is a bit like hitting that sweet note in a song. It’s crucial for both safety and flavor.
For pork and beef, you’re aiming for an internal temperature of 145°F. This ensures the meat is safe to eat while still being juicy and flavorful. Conversely, chicken needs an internal temperature to reach at least 165°F to ensure any harmful bacteria are killed.
Always have a reliable meat thermometer on hand.
ThermoPro TempSpike Wireless Meat Thermometer | Editor Recommended

Top Features
- USDA Temperature Presets
- Connects To Your Phone For Monitor And Alerts
- No Wires!
Aiming for Tenderness
Now, if you’re after that melt-in-your-mouth tenderness, especially with cuts like brisket or pork shoulder, you might want to push the boundaries a bit.
Aiming for temperatures between 180°F-200°F allows the meat’s collagen to break down further. This results in a texture that’s incredibly tender and almost buttery.
It’s a longer process, but the results? Absolutely worth the wait. Just remember to keep an eye on things, ensuring the meat doesn’t dry out during the extended cooking time.
9. Beginner-Friendly Meats To Start With
Top Sirloin Cap, Tri-Tip, Ribs, And Burgers
Let’s keep things simple and delicious.
Top Sirloin Cap, also known as Picanha, is a flavorful cut that doesn’t need much to shine.
Tri-Tip, with its triangular shape, is another beginner’s favorite, offering a mix of textures in one cut.
Ribs? Well, they’re a classic, and with some patience, you’ll have them falling off the bone.
And don’t overlook burgers; smoked patties bring a whole new level of yum to the table.
Smoking Fish
If you’re looking to venture beyond meats, fish is your ticket. It’s a quicker smoke compared to beef or pork! With its rich and fatty nature, Salmon absorbs that smoky aroma beautifully.
Trout, mackerel, or even a whole tilapia can be transformed in the smoker. Just remember, fish is delicate, so keep a close eye on it.
A light wood like alder or fruitwood is your best bet to complement the fish without overpowering it.
10. Leveling-Up Your Smoking Game
Smoking Boxes And Pellet Smoker
So, you’ve got the basics down and are ready to level up? Let’s talk gear.
Smoking boxes are nifty gadgets that let you introduce smoke to grills that aren’t specifically designed for smoking. Just fill them with wood chips, place them on the grill, and let them work their magic.
Then there are pellet grills, the tech-savvy type of smoker. These grills use wood pellets and often come with digital controls, allowing for precise temperature adjustments and consistent smoke.
Selecting Premium Smoking Woods
As you refine your skills, consider experimenting with premium woods like olive or pimento.
And while hickory and mesquite are staples, don’t shy away from blending woods. Mixing apple with a touch of oak can create a beautifully balanced smoky profile.
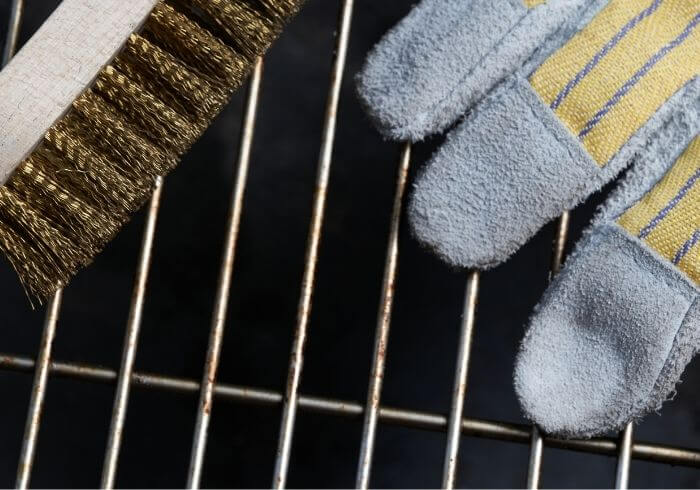
Regular Grill Maintenance
Your smoker’s been good to you, so be good to it in return. Regular maintenance isn’t just about keeping it shiny; it’s about flavor and longevity.
Clean out ash and unburned wood after each session to ensure consistent airflow. And that grease buildup? It can affect the taste of your food, so give your grill grates a good scrub now and then.
A well-maintained smoker lasts longer and ensures that every meal is as tasty as the last.
Final Thoughts
Every time you fire up that smoker, you add a chapter to your personal smoking story. Some days, everything will go perfectly, and you’ll feel like the king or queen of the grill.
On other days, well, things might not go as planned. But that’s okay! Every misstep is a lesson. And every perfect brisket shows your growing skills.
Remember, smoking is as much about the journey as the destination, so enjoy every moment of it.