Serving a perfectly grilled steak, seared to perfection with iconic grill marks, is something we all dream of serving to our guests.
That’s the beauty of mastering the art of grilling steak. It’s not just about the sizzle and the smoke. It’s about capturing that steakhouse magic right in your backyard.
But can you really get that restaurant-quality steak at home? Yep!
You can achieve that melt-in-your-mouth steak experience with the right techniques and tips. It’s not just about throwing a piece of meat on the grill. It’s about understanding heat, seasoning, timing, and that not all steaks are created equal or grill the same.
That’s where this guide comes in. You’re about to learn how to grill the perfect steak every single time.
Of course! Let’s dive right in.
Selecting The Perfect Steak
You’ve got a world of choices when it comes to steak cuts. Each cut boasts its own unique flavor and texture. Here are a few popular steaks you’ll find at your local butcher.
Best Steak Cuts For Grilling
- Ribeye Steak: It has rich marbling and a buttery taste.
- T-Bone: Offers tenderloin on one side and strip on the other, a two-in-one meat treat.
- Sirloin Steaks: Leaner but carries a robust beefy flavor.
- Filet Mignon: The number one steak of tenderness. It’s all about that melt-in-your-mouth experience.
- New York Strip Steak: My favorite! This tender steak is well-marbled, and has a rich beef flavor that’s hard to beat.
There’s more than just the cut of the beef. Let’s look deeper without getting too complicated.
Meat Quality Matters
Think about where your steak comes from and how fresh it is. The quality of your meat can change your grilling game.
- Grass-fed Beef: Leaner with a distinct, earthy flavor profile.
- Grain-fed Beef: Offers a classic, rich beef taste.
- Organic: Environmentally friendly and antibiotic-free.
However, when you’re picking out a steak, it’s not just about whether it’s grass-fed or grain-fed. The grade of the beef plays a pivotal role in the quality and natural flavor of your steak.
Beef Grades
Each grade reflects the amount of marbling in the beef, its tenderness, juiciness, and flavor. While higher grades often come with a heftier price tag, you can taste the difference.
- USDA Prime: This is the cream of the crop. Prime beef is known for its marbling, which means it’s super tender, juicy, and flavorful. It’s the grade you’ll often find in upscale steakhouses and gourmet markets.
- USDA Choice: A step down from Prime but still of high quality. Choice beef has less marbling but is still pretty tender and juicy.
- USDA Select: This grade has even less marbling than Choice. While it’s leaner, it might not be as tender or juicy. However, you can still get a tasty steak with the right marinade or seasoning.
- Standard and Commercial: These grades are often sold ungraded or as store-brand meat. They have less marbling and tenderness compared to the higher grades. For the best steak, I’d avoid these.
Marbling Is The Natural Flavor Enhancer
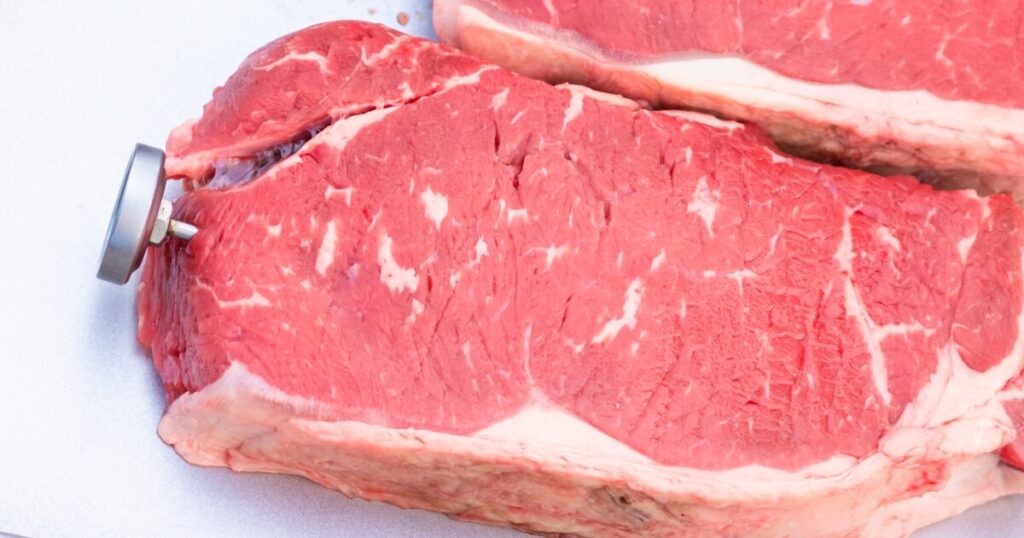
- Look for consistent marbling throughout the steak.
- Marbling = juiciness and flavor.
Ever noticed those little white flecks and streaks in raw steak? That’s fat marbling. It’ll melt as you grill, infusing the meat with unbeatable richness.
If you see a tough and translucent line, that’s probably gristle and inedible.
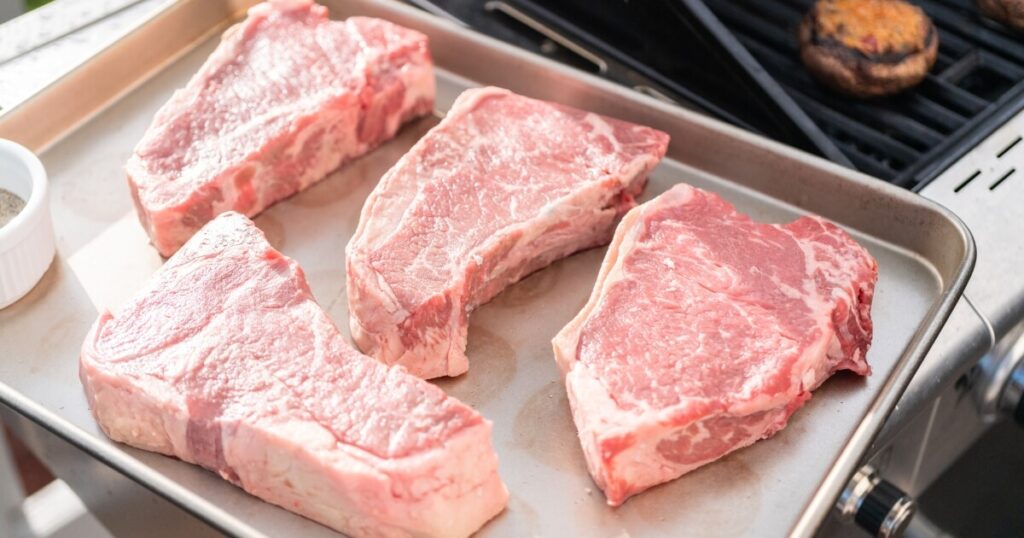
Thick Steaks Are Better For Grilling
Thicker steaks are your best bet for grilling. Here’s why:
- Opt for at least one inch thick.
- Thicker cuts offer better control over doneness.
- Helps you create a crispy outside, juicy inside.
Preparing Your Steak For The Grill
The Room Temperature Rule
Before you even think about grilling, let your steak sit out of the fridge for about 30 minutes before grilling. Bringing your steak to room temperature helps you get even cooking.
It’s a simple step, but it makes a difference in achieving that perfect level of doneness from edge to edge.
Should You Poke Holes In Steak?
You might’ve heard folks say poking holes in steak helps it marinate better.
Let’s clear this up. Poking your steak can cause it to lose precious juices during grilling.
So, keep those forks away and let the steak retain its natural moisture and flavor.
All About Seasoning
Salt is your steak’s best friend. It enhances the beefy flavors and helps create that crave-worthy crust.
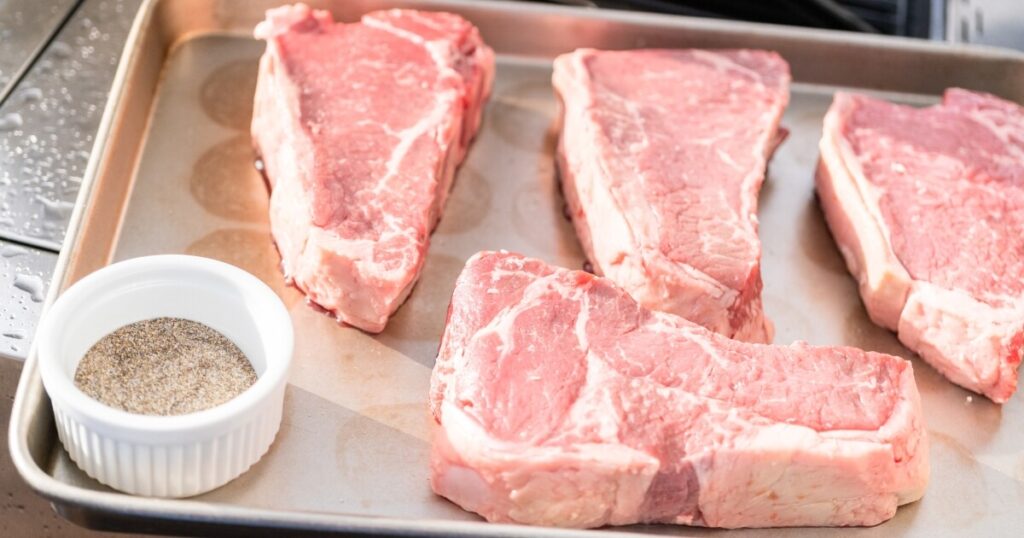
And other seasonings like black pepper, garlic powder, or fresh rosemary are great additions to Kosher salt.
Remember, seasoning isn’t just about adding flavor. It’s about complementing the steak’s natural taste.
Mastering Marinades
Marinades can give your steak a great flavor and even help tenderize it. Again, please don’t poke your steaks.
Whether you’re going for a zesty citrus marinade or a rich soy-based one, the key is to let the steak soak up the flavors.
Marinate beef steaks for at least 2 hours, but if you’ve got time, overnight is better. Just make sure that you pat the steak dry with paper towels before tossing it on a hot grill to get a perfect sear.
Your Grilling Setup
Setting up your grill correctly is the foundation of a great grilling experience. Whether you’re using charcoal or gas, each has its own nuances to consider.
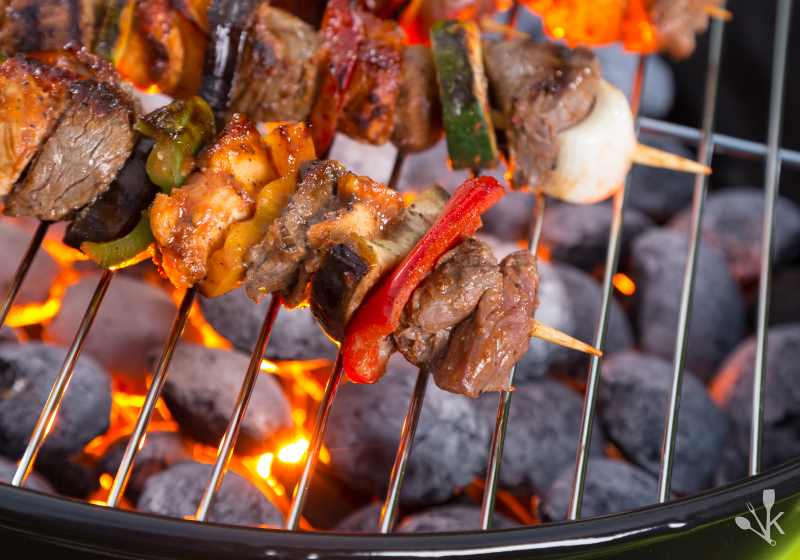
Charcoal Grill: Embrace the Flame
- Flavor Advantage: One of a charcoal grill’s biggest perks is its smoky flavor. Those aromatic woodsy notes? That’s the magic of the best charcoal.
- Heat Control: Managing heat on a charcoal grill is all about charcoal placement. For direct heat, spread the coals evenly. For indirect heat, push them to one side. Remember, the more coals, the hotter the fire.
- Lighting Up: Use a chimney starter for an even and quicker light. Avoid lighter fluid if you can because it can change the taste of your steak negatively.
- Cleanliness: After each grilling session, ensure you clean out the ash. This not only helps with temperature control but also prolongs the life of your grill.
Gas Grill: Precision and Convenience
- Turn Up the Heat: Even budget gas grills will heat up quickly, offering you more control over the temperature. Most come with multiple burners for direct and indirect cooking zones.
- Flavor Bars: Many gas grills come with flavor bars or similar systems. These vaporize the drippings, adding a smoky flavor to your steak, mimicking that charcoal essence.
- Safety First: Always check for gas leaks at the start of grilling season. A simple soap water solution on the connections can help you spot any bubbles from escaping gas.
- Maintenance: Regularly check burners for clogs and ensure the drip tray is cleaned out. This not only ensures even cooking but also prevents flare-ups.
No matter your grill choice, the key is understanding its quirks and features. Once you’ve got a handle on that, you’re on your way to grilling up some fabulous steaks.
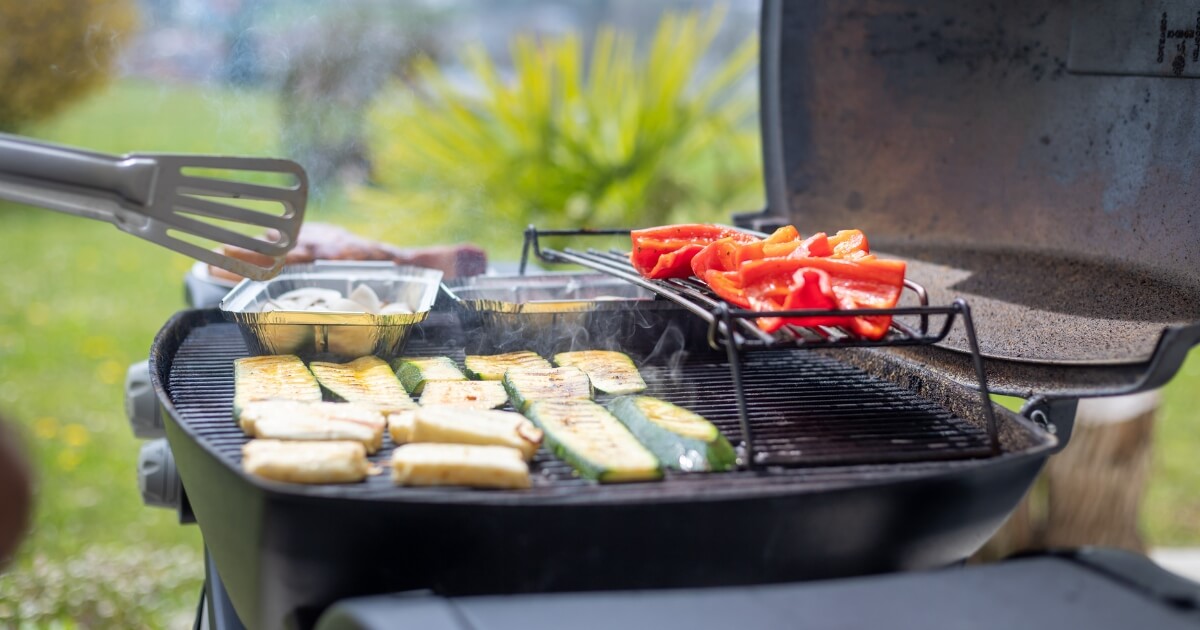
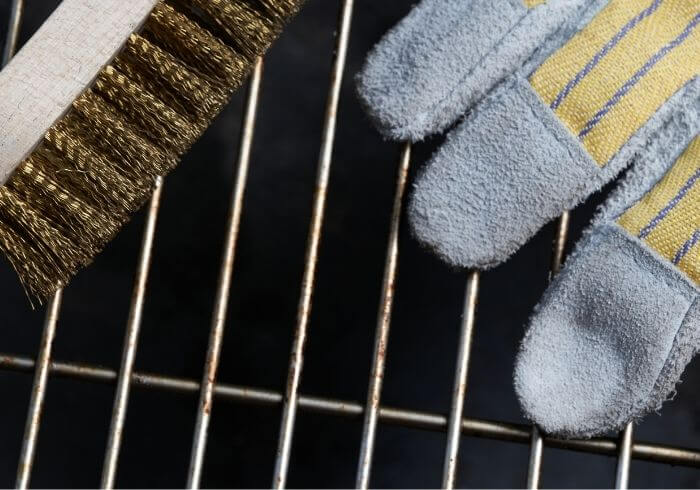
Use A Clean Grill
Give that grill a good scrub! Leftover bits and charred remains from previous cooking will interfere with your steak’s flavor. You want a smoky flavor, not a burnt flavor.
Plus, a clean grill helps with even heating and reduces the chances of unwanted flare-ups.
The Two-Zone Approach
Setting up your grill with both direct and indirect heat zones is like having two grills in one.
Start by searing your steak over direct heat to lock in those juices and get that golden crust.
Then, move it to the indirect zone to cook to your desired level of doneness without the risk of charring burnt. It’s all about control and versatility.
Getting the Temperature Just Right
Preheating is not just for ovens. Get your grill nice and hot before that steak hits the grates.
Aim for medium-high heat, around 450°F (232°C).
This ensures a quick sear, sealing in the juices and giving you that irresistible grilled flavor.
Remember, patience is key here.
Grilling Your Steak
The Art of Searing
Searing is where the magic happens. It’s all about that golden-brown crust that’s packed with flavor and nice grill lines.
Place your steak on the hottest part of the grill and let it do its thing.
Resist the urge to move it around or press it. Just give it a few minutes alone, and you’ll be rewarded with a nice crust that’s nothing short of perfection.
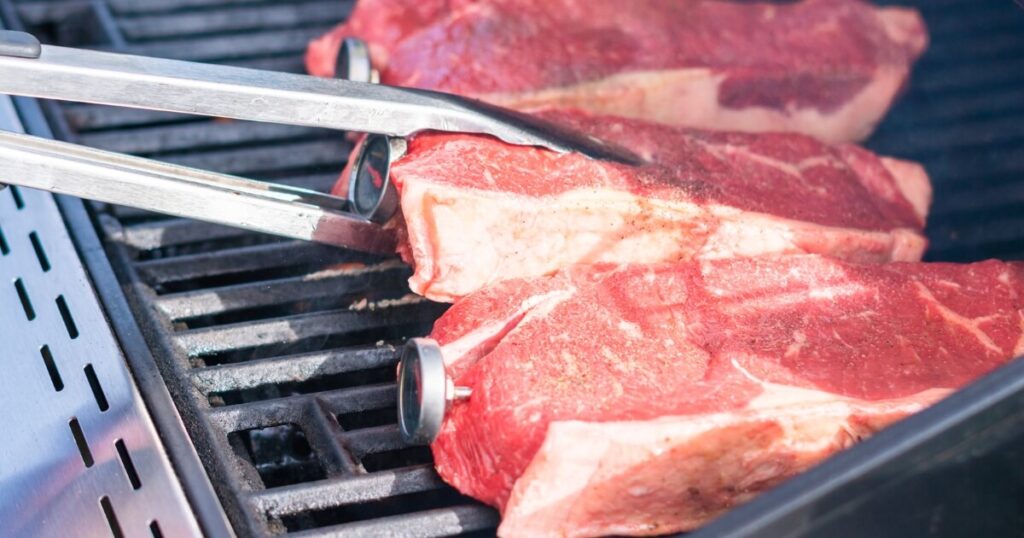
Flip It The Right Way
When it’s time to turn that steak over, always use tongs. They give you a good grip without piercing the meat.
Forks? They might be tempting, but remember, whenever you poke your steak, you’re letting out some of its natural juices.
So, keep it juicy and use those tongs.
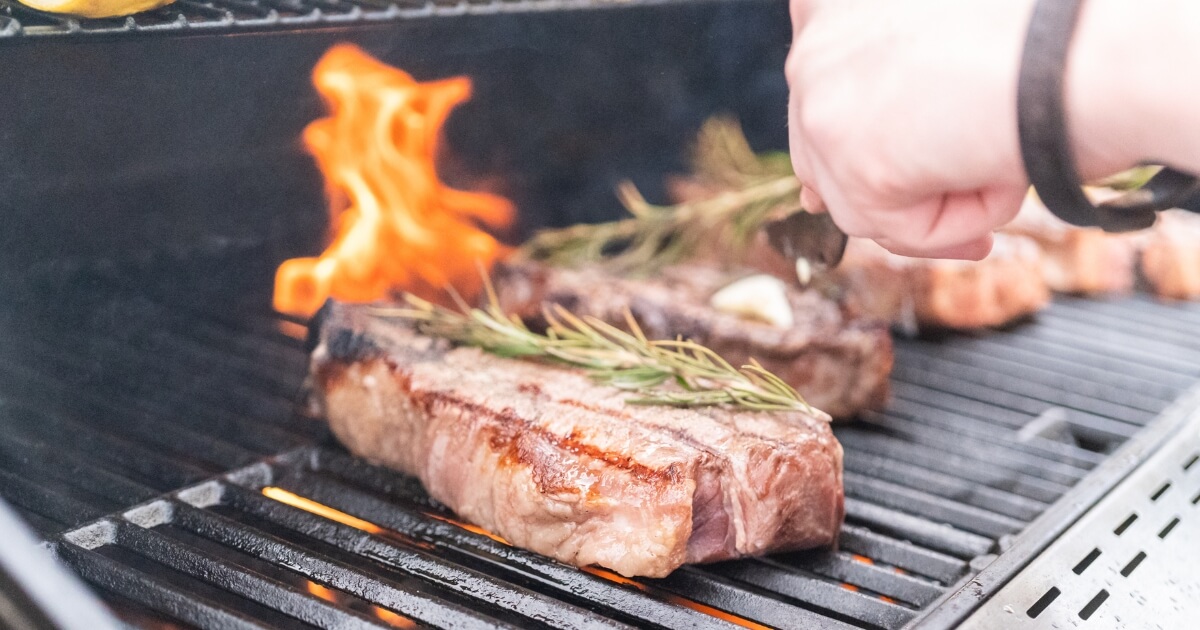
Grill Marks
Grill marks aren’t just for show. They also add a deep smoky flavor.
- To get those picture-perfect marks, lay your steak on your grill grates at a 45-degree angle.
- Halfway through searing each side, give it a 90-degree turn.
You’ll get that classic crosshatch pattern that’s a sign of a well-grilled steak. If something doesn’t turn out the way you expect, just forget about the marks and focus on grilling your steak until it’s done properly.
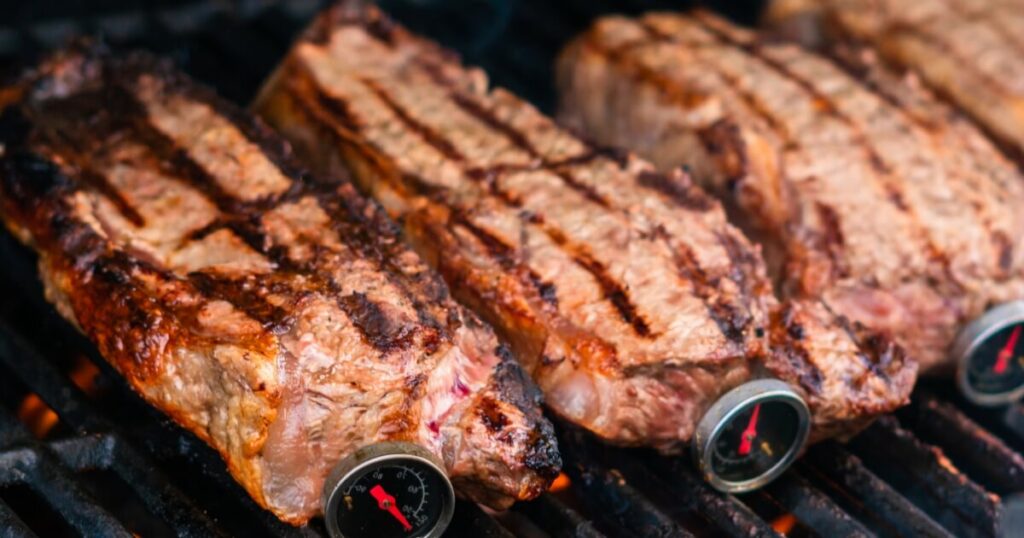
Is It Done Yet?
There are a few ways to check if your steak is grilled to your liking.
The hand test is a quick trick but takes some practice. The general idea is:
- When your hand is relaxed, the base of your thumb feels like a rare steak
- As you use your thumb to touch each finger, the base of your thumb gets firmer. When you get to touching your pinky finger, it feels more like well-done.
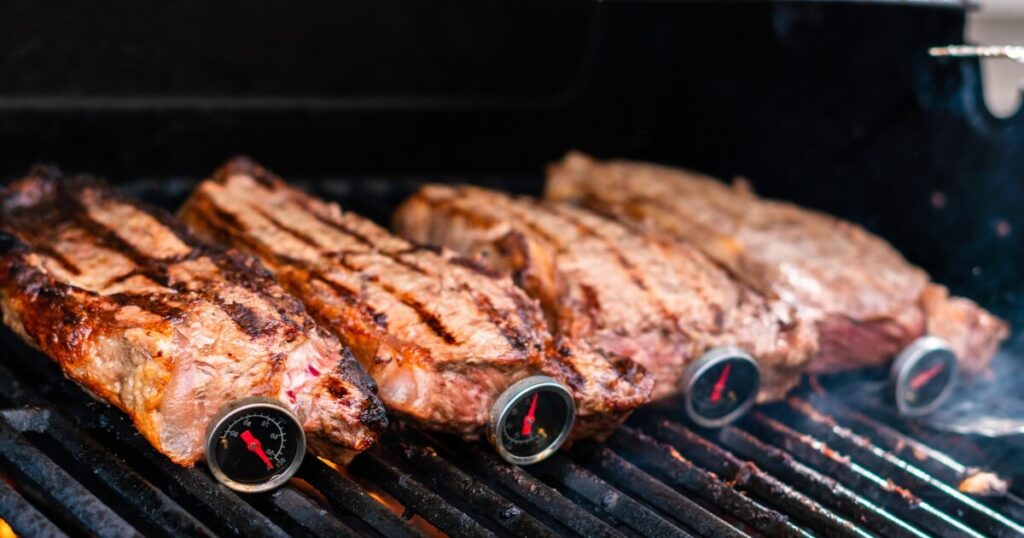
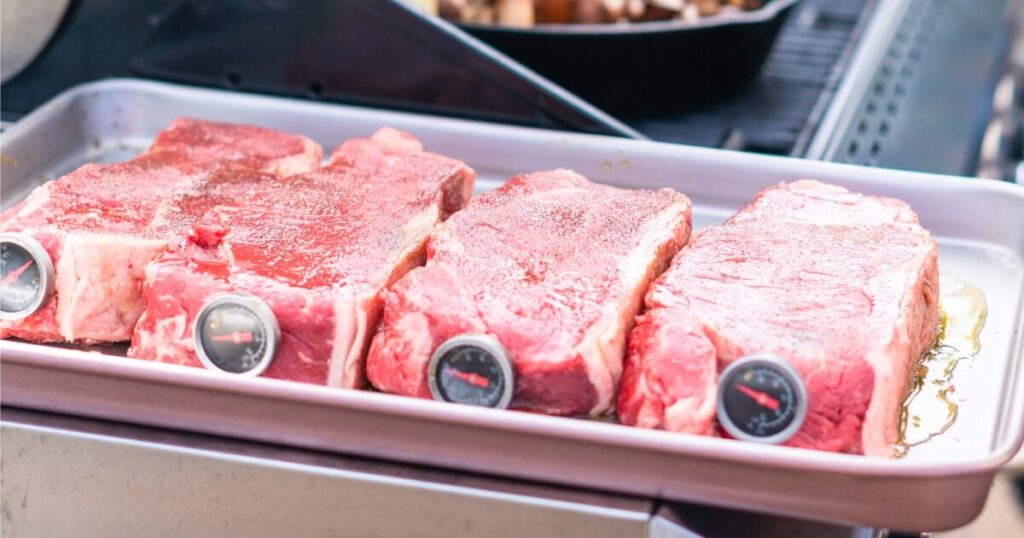
But if you’re looking for precision, a meat thermometer is your go-to. But don’t get too poky with it.
As for timing, it varies based on your steak’s thickness and desired doneness, so keep an eye on it.
Grilled Steak Temperature & Timing Guide
Grilling A 1″ Steak To Perfection
When grilling a 1″ steak, every grill and steak cut can be a bit different, so these are general guidelines. Always trust your instincts and tools, like a meat thermometer, to ensure the best results.
Direct Heat Grilling
- Rare (125°F / 52°C): About 2-3 minutes on each side. You’re aiming for a cool red center.
- Medium Rare (135°F / 57°C): Grill for 3-4 minutes per side. This gives you a warm red center with a hint of pink.
- Medium (145°F / 63°C): 4-5 minutes on each side will result in a hot pink center.
- Medium Well (155°F / 68°C): 5-7 minutes per side. You’ll get a slight hint of pink in the center.
- Well Done (165°F / 74°C): 8-10 minutes on each side. The steak will be brown throughout.
Each steak lover has their preference, and these temperatures will help you nail yours every time.
What the USDA Says
While you might love your steak rare, knowing the USDA’s take on it is a good idea.
They recommend a minimum internal temperature of 145°F (63°C) with a 3-minute resting time.
This guideline is to help ensure that harmful bacteria are killed, keeping your meal delicious and safe. Consider your guests’ preferences and health concerns when grilling up that perfect steak.
Post-Grill Perfection
Rest Your Steak No Matter What
After pulling your beautifully grilled steak off the heat, give it a moment to relax.
Resting allows the juices, which have been driven to the center by the heat, to redistribute throughout your steak.
This means every bite will be as juicy as the last, ensuring a melt-in-your-mouth experience.
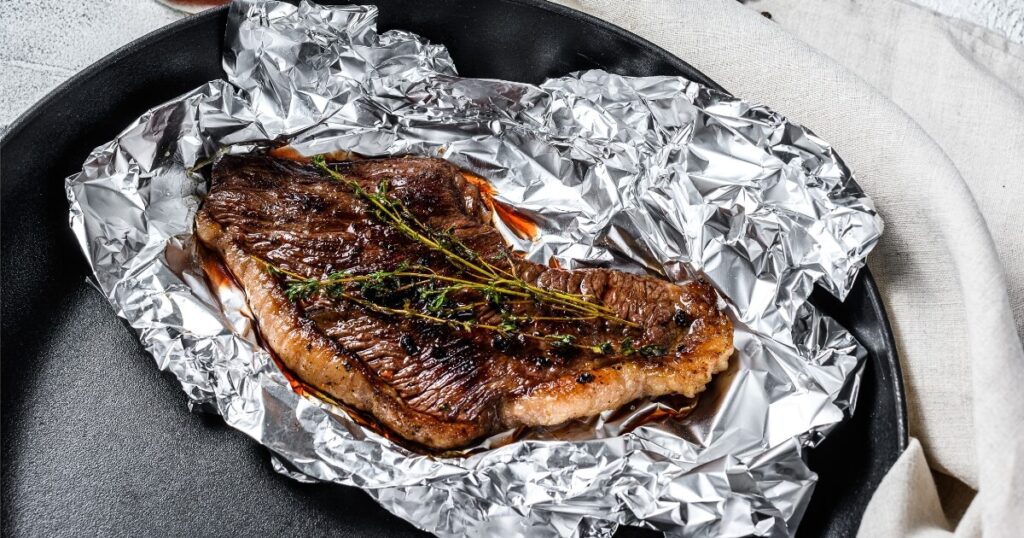
Stay Warm, Steak
While your steak is taking its well-deserved rest, you don’t want it to go cold.
The best way to keep your steak warm while it rests is to loosely cover it with aluminum foil. This keeps it warm without trapping too much steam, which could make your crispy crust go soft.
Another tip? Rest it on a warm plate to keep that heat going from all sides.
Butter And Sauces
If you want to elevate your steak game even further, let’s talk compound butter and sauces.
Imagine a scoop of rosemary-garlic butter melting over your steak or a drizzle of red wine reduction sauce.
These additions can complement the beefy flavor of your steak, adding layers of complexity and richness.
Experiment with different herbs, spices, and flavors to find your perfect match.
Serving The Perfect Steak
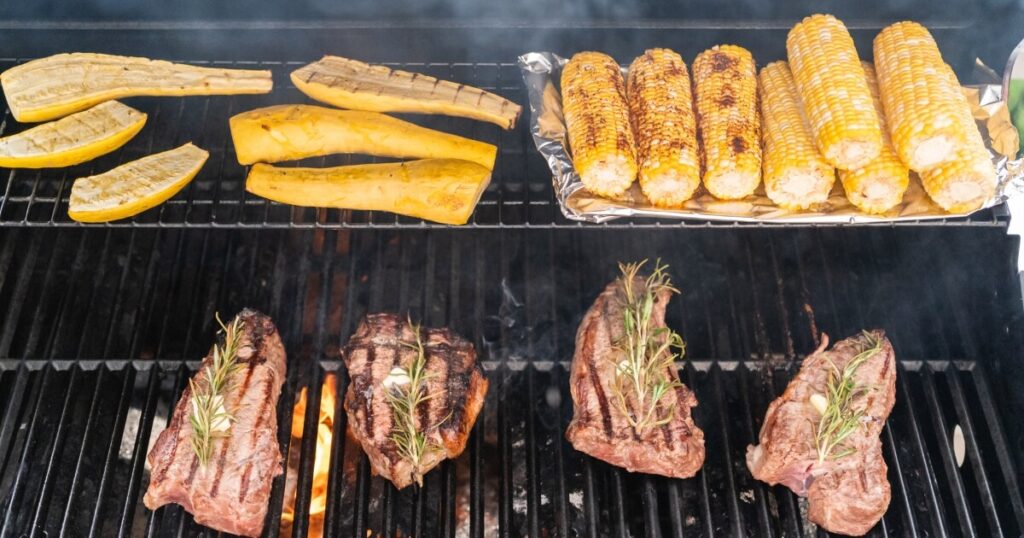
Pairing Sides
When it comes to steak, the sides can make or break the meal.
You really can’t go wrong with garlic mashed potatoes or a crisp Caesar salad.
Want to modernize your plate? Try roasted Brussels sprouts with a balsamic glaze or a quinoa salad with fresh veggies.
And let’s not forget the timeless beauty of grilled asparagus or buttery corn on the cob.
Drink Pairings: Non-Alcoholic Options
While many jump to wine or beer when thinking of steak pairings, a world of non-alcoholic beverages complements a grilled steak.
A sparkling lemonade can cut through the richness of the steak, while iced tea, especially with a hint of peach or lemon, offers a refreshing counterpart.
A homemade milkshake or chilled coconut water can be surprisingly harmonious and delicious for something creamier.
Presentation Tips
Eating is as much a visual experience as it is about taste.
Start with a warm plate to keep your steak hot. When placing the steak on the plate, angle it so the beautiful grill marks are displayed. Garnish by adding a sprig of rosemary or a slice of lemon for a pop of color.
And remember, space is key. Don’t overcrowd the plate for the practicality of cutting it.
But even more important, be proud of what you’ve accomplished and let your perfect steak be the star for you and your guests.